Why Raised Beds Work
Raised bed gardening offers distinct advantages over planting directly in the ground - advantages that become especially valuable in yards with poor native soil, uneven terrain, or drainage challenges. The enclosed structure keeps roots in a controlled growing environment where you set the rules on soil quality, depth, and nutrients.
Because the soil in a raised bed sits above grade, it drains more freely than compacted in-ground soil and warms up earlier in spring. That earlier soil temperature means you can start seeds or transplants weeks ahead of a traditional ground-level plot. The contained footprint also makes it physically easier to tend crops, weed, and harvest without straining your back - a genuine benefit for gardeners of any age or mobility level.
If you're weighing whether raised beds are the right fit for your yard, the comparison of raised beds vs. in-ground planting covers the cost and effort trade-offs in detail.
6+ hours
Daily sunlight most vegetables require
University extension services consistently list six hours of direct sun as the minimum for productive vegetable gardening.
2-3 weeks
Earlier planting start vs. in-ground
Raised beds warm up faster in spring due to improved drainage and above-grade exposure, allowing earlier planting in many climates.
4 feet
Recommended maximum bed width
A width of 4 feet allows most adults to reach the center from either side without stepping onto the soil and compacting it.
Planning Your Layout
Before you build anything, spend time observing your yard. Mark where sunlight falls for at least six hours during the day - most vegetables require that minimum. Avoid low spots where water pools and areas directly beneath trees, where roots compete for nutrients and canopy limits light.
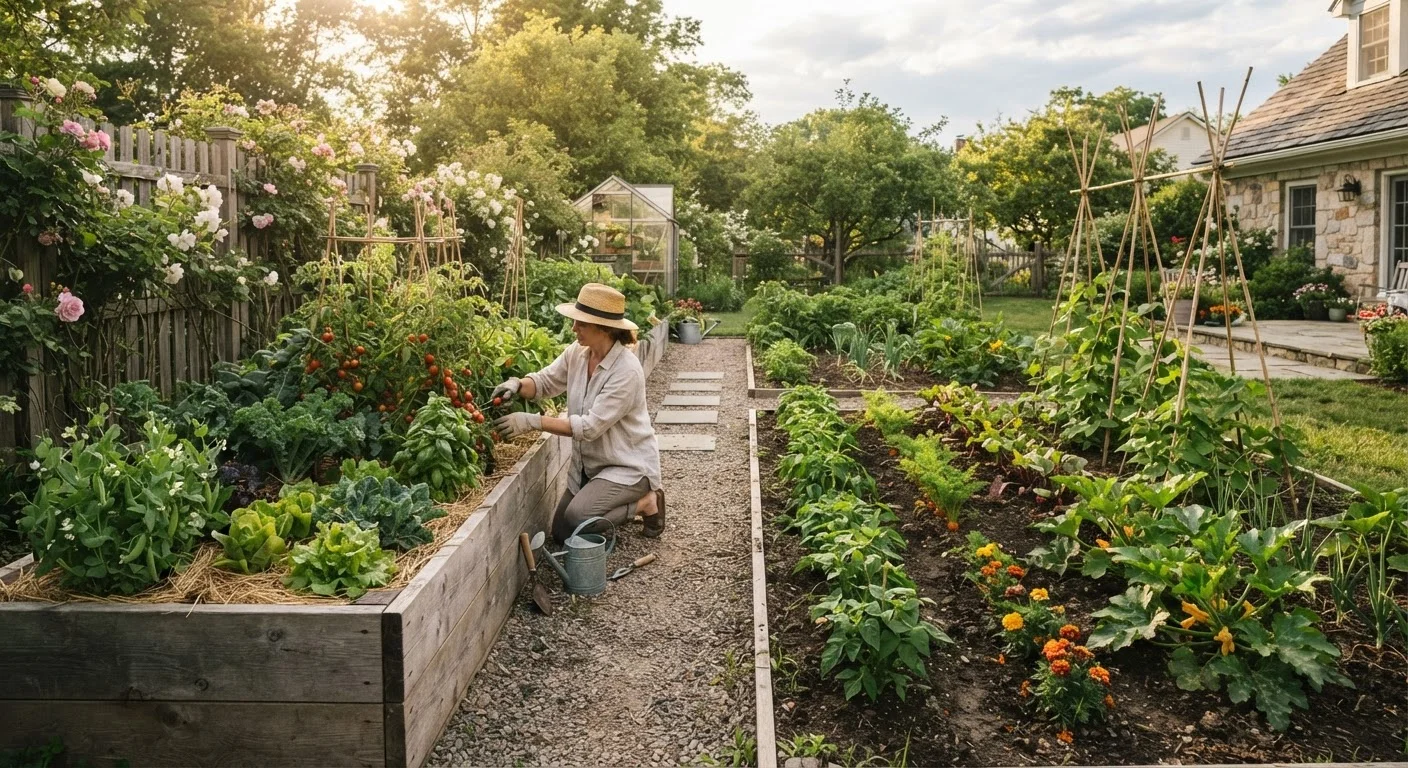
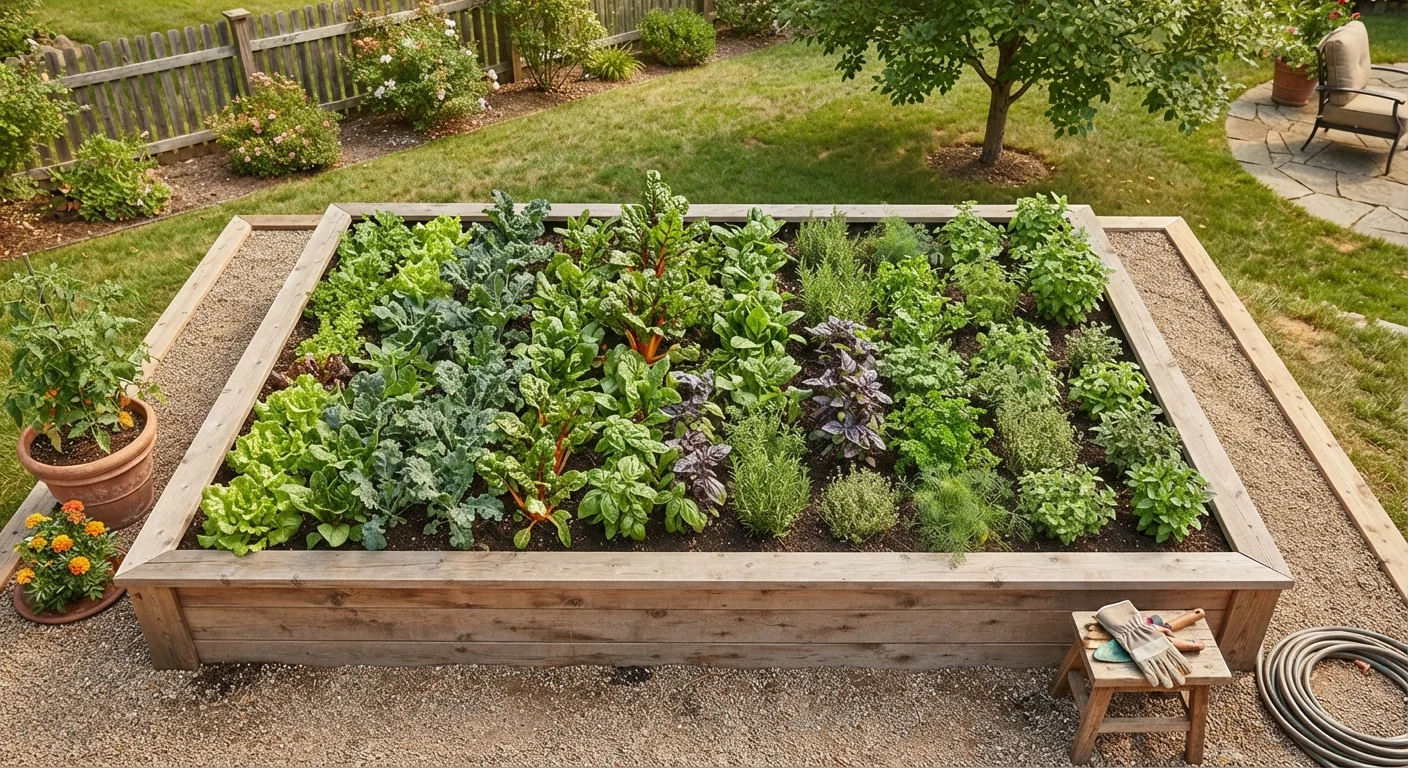
Standard layout guidance calls for beds no wider than 4 feet so you can comfortably reach the center from either side without stepping onto the soil surface. Compacted soil impairs root development and drainage, so keeping foot traffic off the bed is a core design principle. Length is flexible - common sizes run from 4 to 8 feet, and longer beds can be broken into sections with a stepping stone or pathway access point.
Leave at least 18-24 inches between beds for a wheelbarrow or comfortable kneeling access. If you're planning multiple beds, a simple grid layout is easiest to maintain. Edging and pathway planning can help you design the space between beds to be both functional and visually tidy.
Choosing Materials and Building Your Bed
The most common raised bed material is untreated or naturally rot-resistant wood - cedar and redwood are frequently cited for their durability without chemical additives. Standard lumber in 2×6 or 2×10 dimensions works well; deeper beds (10-12 inches) benefit vegetable crops with longer root systems like tomatoes or carrots.
Galvanized steel and composite lumber are other options, each with trade-offs in cost, longevity, and appearance. Avoid pressure-treated lumber that uses older preservative formulations near edible crops, though current residential-grade treated lumber standards have evolved - check the label and consult current guidance from your local cooperative extension service if uncertain.
Avoid Certain Treated Lumber Near Edibles
Older pressure-treated lumber used preservatives that are no longer approved for residential use near food crops. If repurposing reclaimed wood, research its origin and treatment history. When in doubt, use untreated cedar, redwood, or a purpose-built garden bed material to eliminate any risk of chemical leaching into your soil.
Construction is generally straightforward: cut boards to length, secure corners with exterior-grade screws, and square the frame before setting it in place. A layer of cardboard placed underneath before filling can help suppress weeds without blocking drainage. No bottom is needed - and in fact, an open bottom lets earthworms move freely up into your growing mix.
Filling Your Bed with the Right Soil Mix
Soil is where raised bed gardening either thrives or stalls. Native yard soil alone is rarely a good fill - it's typically too dense and drains poorly when confined. A commonly recommended blend for raised beds combines roughly equal parts topsoil, compost, and a coarse amendment such as perlite or aged bark. This creates a light, moisture-retentive mix that roots can penetrate easily.
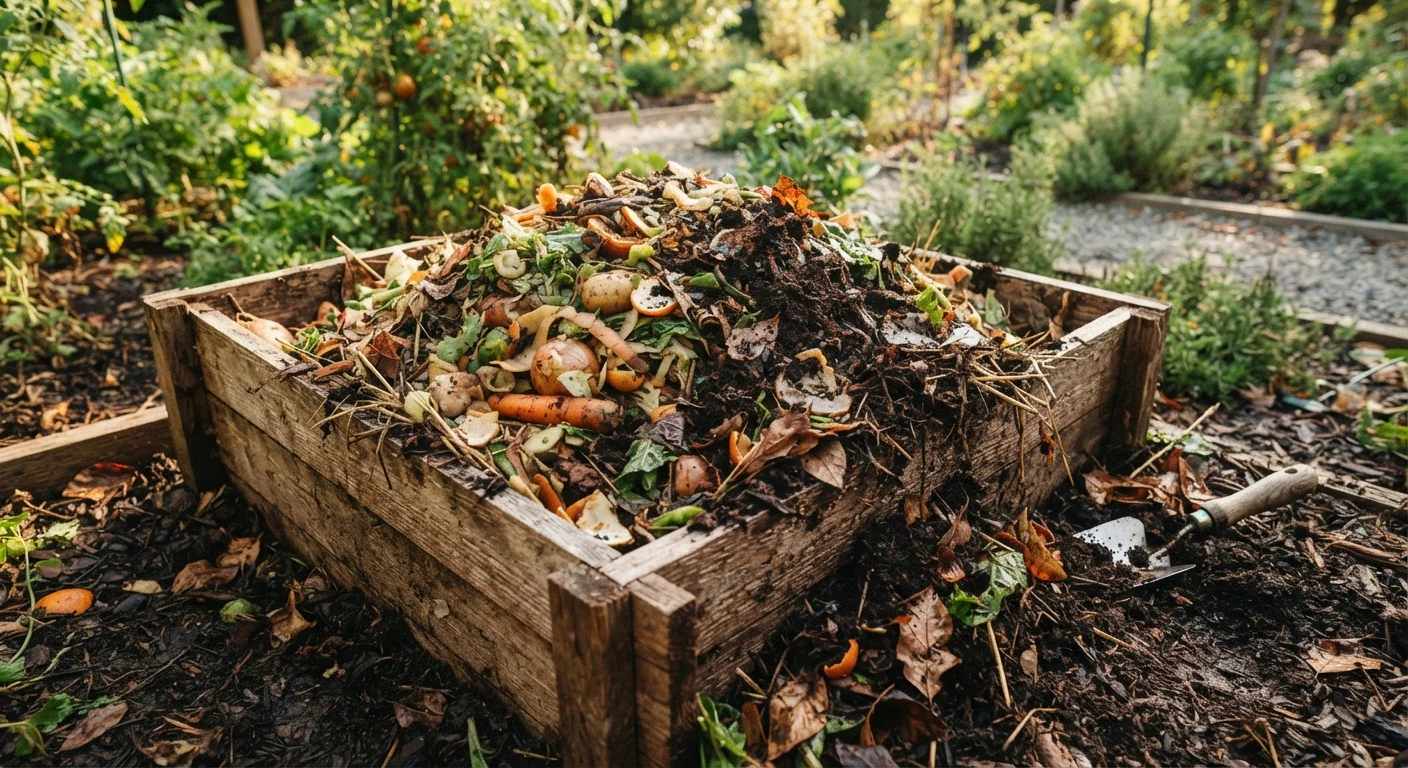
Compost is the backbone of long-term soil fertility. If you're building your own supply, composting kitchen and yard waste is a cost-effective way to keep the bed replenished each season without repeated purchased inputs.
Expect the soil to settle 10-15% in the first season as organic matter breaks down. Topping off with fresh compost each spring maintains soil volume and feeds the next crop cycle.
Taste your compost before adding it to a new bed - finished compost smells earthy, not sour or ammonia-like. Immature compost can temporarily lock up soil nitrogen and stunt seedlings.
Nitrogen tie-up from unfinished organic matter is a common reason new raised beds underperform in their first season.
Fill your bed in layers if budget is a concern: cheaper topsoil on the bottom two-thirds, then your high-quality compost blend in the top 4-6 inches where roots begin.
Most vegetable feeder roots are concentrated in the upper soil layers, so concentrating quality mix there delivers results without inflating material costs.
Planting, Spacing, and Seasonal Timing
Raised beds reward intensive planting - a method where crops are spaced closer than traditional row gardening allows because the loose, fertile soil supports more root activity per square foot. Dividing the bed into a rough grid (square-foot gardening is one popular framework) helps you allocate space for different crop types without guessing.
Cool-season crops like lettuce, spinach, kale, and radishes go in early - sometimes 4-6 weeks before the last expected frost date in your region. Warm-season crops like tomatoes, peppers, and beans wait until soil temperature is consistently above 60°F. Your local cooperative extension service publishes planting calendars specific to your climate zone - these are the most reliable timing reference available.
For a structured seasonal checklist before your first planting, the spring garden preparation checklist walks through soil testing, bed clearing, and tool readiness in sequence.
Watering, Mulching, and Ongoing Care
Raised beds dry out somewhat faster than in-ground plots because of their elevated exposure and improved drainage. A consistent watering schedule - typically deeper and less frequent rather than daily shallow watering - encourages roots to grow downward. Drip irrigation or soaker hoses placed along the bed surface are efficient options that also reduce foliar disease by keeping leaves dry.
Mulching the soil surface between plants conserves moisture, moderates soil temperature, and suppresses weeds throughout the season. A 2-3 inch layer of straw, shredded leaves, or wood chips applied after planting provides ongoing benefit with minimal maintenance. Mulching practices that make a real difference covers material selection and timing in detail.
Weeding is minimal compared to in-ground beds, but not zero - particularly in the first season before the canopy closes. Remove weeds when small and before they set seed.
From First Harvest to Next Season
Harvesting regularly - rather than waiting for maximum size - keeps most crops producing longer. Lettuce and herbs benefit from cut-and-come-again harvesting. Beans and zucchini slow production if overripe fruit is left on the plant. Check the bed every two to three days during peak season.
At season's end, remove spent plant material to reduce overwintering pest and disease habitat. Add 2-3 inches of compost to the surface and work it lightly into the top few inches of soil. If you're in a cold climate, a layer of straw mulch protects soil structure through freeze-thaw cycles. Cover crops like winter rye or clover, turned in before spring planting, can also rebuild nitrogen and organic matter between seasons.
Starting with one or two beds keeps the commitment manageable and lets you build confidence before expanding. Most gardeners find that a single 4×8 bed, well-maintained, produces a meaningful and satisfying harvest - proof that a small footprint, treated carefully, goes a long way.