Why Edging and Pathways Deserve More Attention
Most homeowners focus on what grows in their yard - the lawn, shrubs, and flower beds - while the structural framework holding it all together goes overlooked. Edging, borders, and pathways are exactly that framework. They define where one zone ends and another begins, direct foot traffic logically, and give the entire yard a cohesive, finished look that no amount of expensive planting can replicate without them.
The good news: none of this has to be elaborate or costly. Thoughtful material choices and consistent maintenance go much further than premium products. Whether you're starting from a blank lot or refining an existing yard, these details are where your effort compounds over time. For a broader view of how design decisions affect your weekly workload, see our guide on designing a low-maintenance yard.
Steel and Aluminum Edging: The Clean-Line Standard
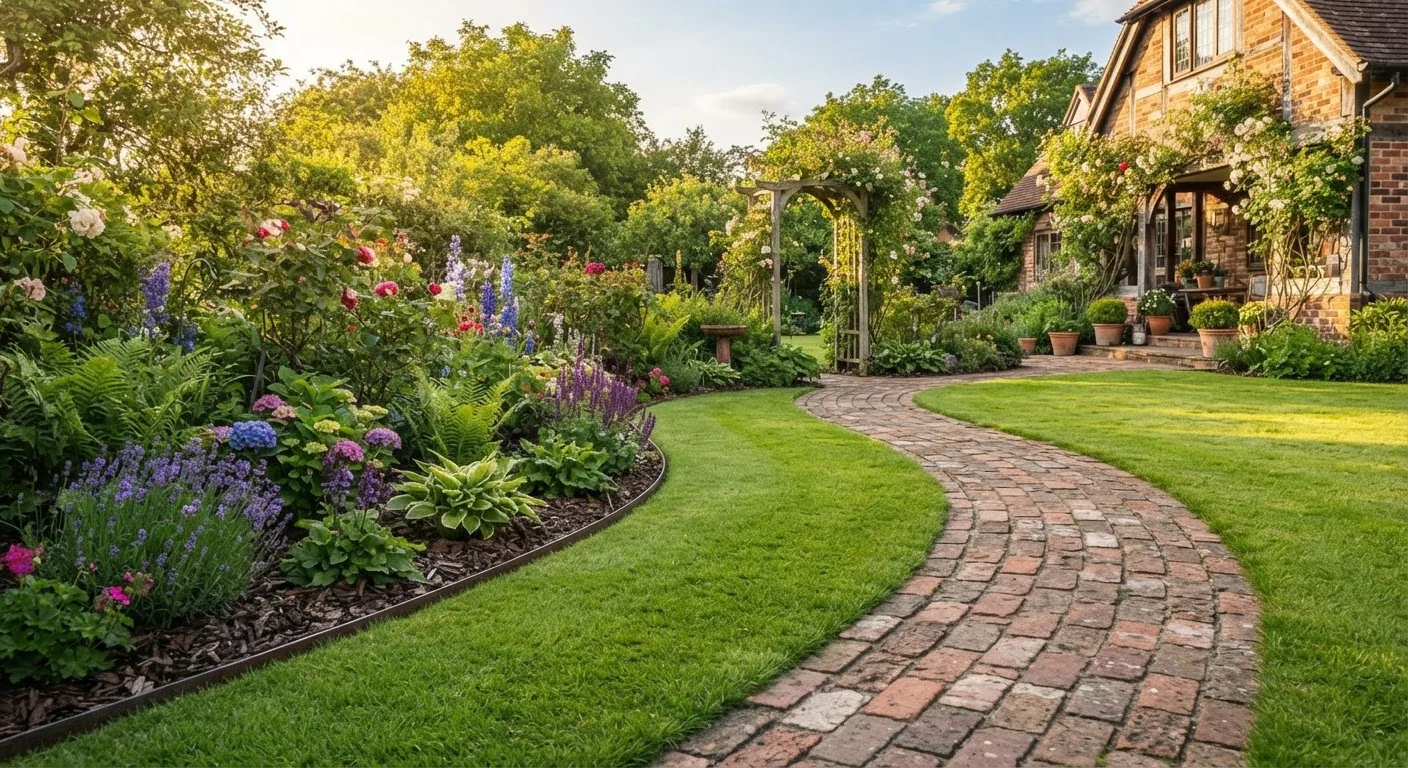
Thin metal edging - typically 3 to 4 inches deep - is installed flush with the ground to create a crisp separation between lawn and beds. It follows curves smoothly without kinking, holds its line for years with minimal repositioning, and largely disappears visually once grass grows in beside it.
Installation involves digging a narrow trench, setting the strip vertically, and staking it in place every few feet. The trench depth matters: too shallow and the strip heaves or shifts; too deep and it becomes a mowing obstacle. Metal edging works best on established beds with a clear, consistent boundary. It requires occasional re-staking after freeze-thaw cycles in colder climates.
Metal edging holds its line for years with minimal repositioning after initial installation.
Plastic Edging: Accessible but Inconsistent
Corrugated or flat plastic strips are widely available and straightforward to install, making them a common starting point for first-time edgers. They're lightweight and flexible, bending easily around curved beds. The trade-off is durability: plastic becomes brittle under UV exposure over several seasons and tends to heave or bow in freeze-thaw conditions.
If you use plastic edging, bury it slightly deeper than the manufacturer suggests - a full 4 to 5 inches - to reduce heaving. Plan to inspect and re-stake it every spring. Consider it a temporary or trial solution rather than a long-term fixture, and upgrade to metal or stone if your borders are permanent.
Bury plastic edging deeper than the label suggests to reduce frost-driven heaving.
Brick and Concrete Pavers: Formal Definition with Staying Power
A row of bricks or pavers set at soil level along a bed edge creates a mowing strip - a flat surface the mower wheel can ride along, eliminating the need for separate string-trimmer passes. This is one of the most practical investments in a yard, reducing weekly effort noticeably once established.
Pavers should be set on a 2-inch compacted sand base to allow slight adjustment over time and resist heaving. Leaving no gap between units keeps weeds from establishing in the joints. The visual weight of brick suits traditional landscapes; concrete pavers offer similar durability in a wider range of profiles. Either option pairs naturally with mulched beds - see our article on mulching garden beds correctly for application guidelines alongside hardscape borders.
A brick mowing strip eliminates the need for a separate string-trimmer pass along every bed edge.
Natural Stone Borders: Organic Structure for Informal Yards
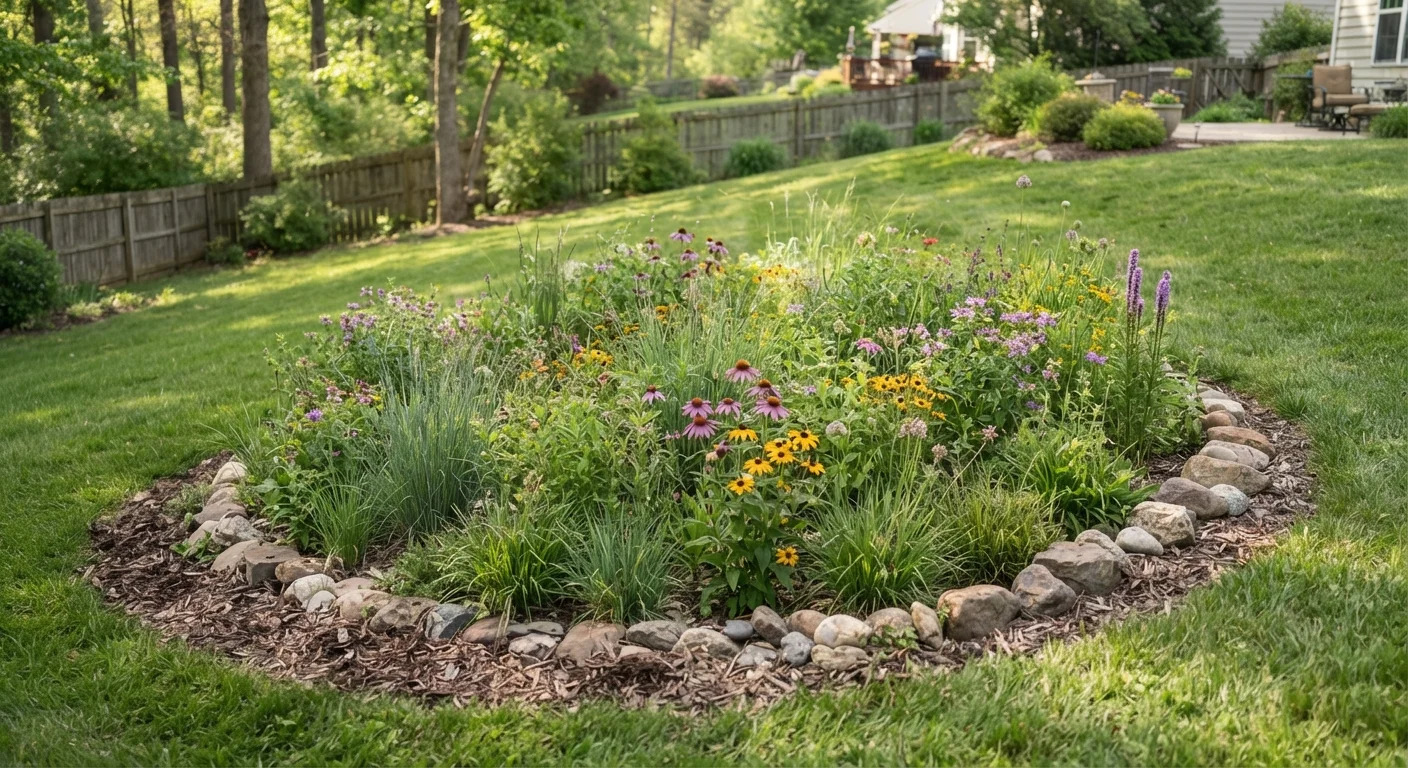
Fieldstone, flagstone, or river rock set along a bed edge softens a landscape's formality while still defining boundaries clearly. Unlike uniform manufactured edging, natural stone varies in size and color, which suits cottage gardens, native plant beds, and naturalized areas.
Set stones partially in the ground - at least one-third buried - so they resist shifting from foot traffic or soil movement. Avoid stacking stones more than one or two layers high as a border; stacked stone walls are a different structural project that may require professional assessment depending on height and slope. Natural stone pairs especially well with native plants and regionally appropriate selections that match the informal aesthetic.
Set natural stone at least one-third underground to keep borders from shifting over time.
Gravel Pathways: Permeable, Low-Cost, and Adjustable
A gravel path is one of the most adaptable pathway solutions: it conforms to any shape, drains freely, and can be adjusted or extended without demolition. Pea gravel and decomposed granite are common choices - each with different textures underfoot and slightly different maintenance profiles.
A well-built gravel path starts with a 3- to 4-inch excavation, a layer of compacted gravel base, landscape fabric (used judiciously and only under rock, not under mulch), and a top dressing of 2 inches of finish gravel. Edge restraints on both sides - steel strip or a row of pavers - keep the gravel contained. Without containment, gravel migrates into adjacent lawn areas and becomes a mowing nuisance within a season or two. Gravel paths also improve yard drainage, an advantage worth considering alongside strategies in our article on building a rain garden for natural drainage.
Edge restraints on both sides of a gravel path are non-negotiable - without them, gravel migrates into your lawn.
Stepping Stone Paths: Guiding Traffic Through Planted Areas
Individual stepping stones set into lawn or ground cover guide foot traffic precisely while preserving the planted areas around them. They work well across short spans - connecting a patio to a garden shed, or providing access into a planted bed for maintenance.
The critical installation detail is depth: each stone should sit slightly below the surrounding soil surface - roughly a quarter inch - so a lawn mower can pass over without catching the edge. Set each stone on a small bed of sand or fine gravel and tamp it stable before testing by stepping on it firmly. A stone that rocks underfoot is a trip hazard and should be reset before the path is used regularly. Space stones at a natural walking pace - roughly 18 to 24 inches center to center - for comfortable stride without forcing users to look down at every step.
Set stepping stones just below the soil surface so a mower can clear them without catching an edge.
Maintaining Sharp Edges Over Time
Even the best-installed edging loses definition if the edge between lawn and bed isn't occasionally recut. Lawn grass spreads by rhizomes and stolons - horizontal stems that cross any above-ground barrier given time. Recutting that physical line once or twice a season, using a flat spade or a dedicated half-moon edging tool, keeps borders looking intentional year-round.
The technique matters more than the tool: hold the spade vertically, not at an angle, and cut straight down to a consistent depth of 3 to 4 inches. Remove the loosened soil and turf from the bed side. A clean cut along a curved bed also clarifies the bed's shape in a way that's difficult to achieve with any installed edging material alone. Pair freshly cut edges with a layer of mulch kept 2 to 3 inches back from the cut line to keep soil definition visible and reduce re-colonization from grass.
Hold your edging tool vertically, not at an angle, to cut a clean, consistent line every time.
Putting It All Together
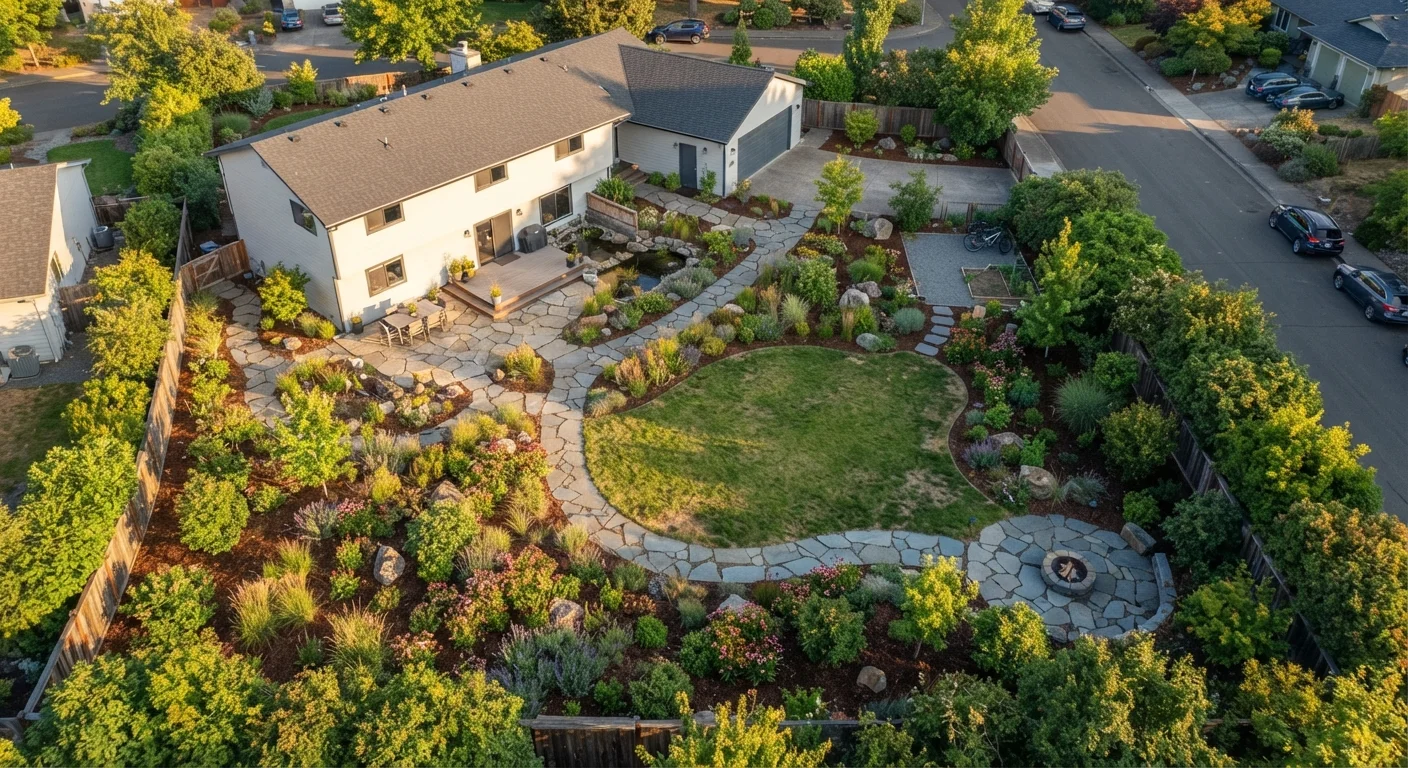
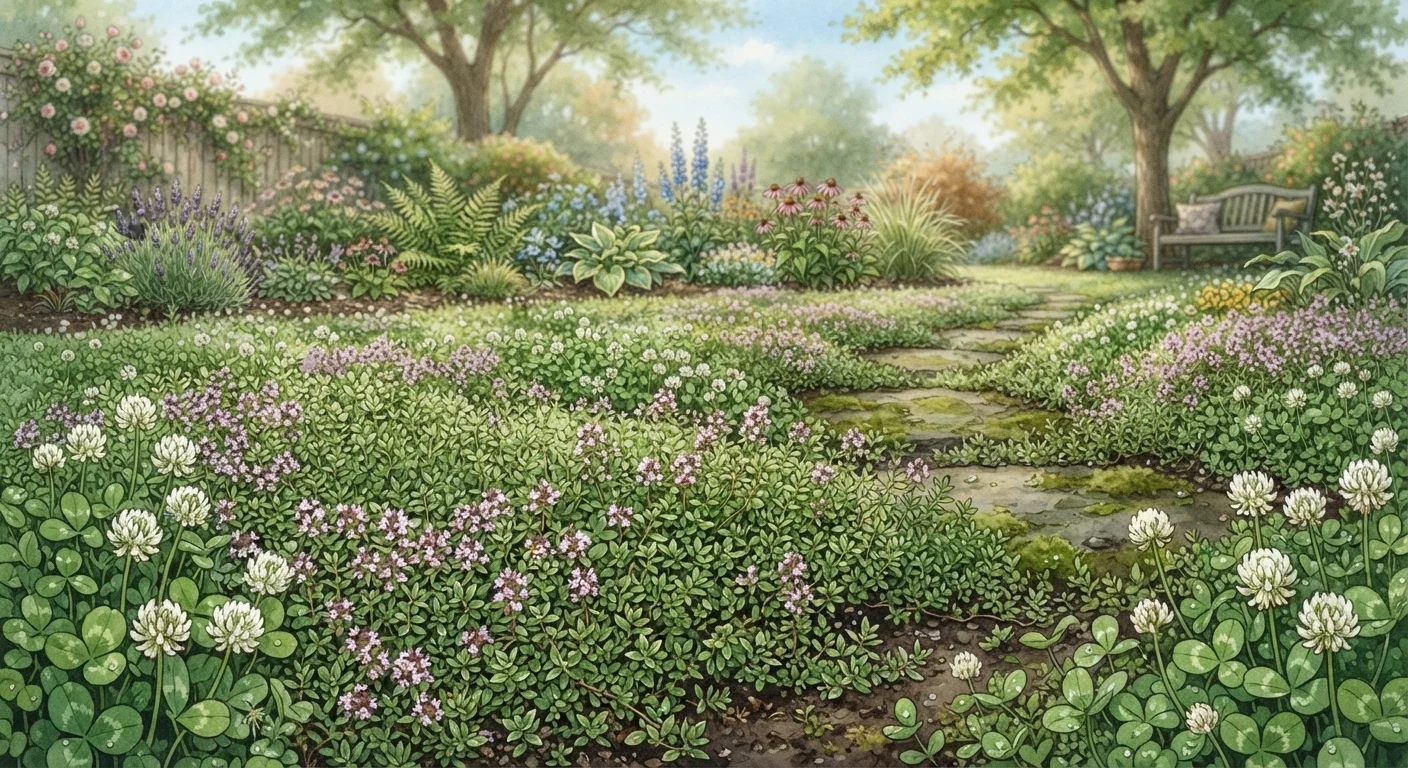
The most successful yards treat edging, borders, and pathways as a system rather than isolated projects. A gravel path pairs naturally with steel edge strips; a flagstone walkway looks intentional when bordered by mounded ground covers. Pairing your borders with the right infill - such as the ground covers explored in our guide on replacing grass with low-maintenance ground covers - reduces both weed pressure and the need for frequent re-edging.
Similarly, mulch plays a supporting role alongside any border material. Correct depth and placement, as covered in our guide to mulching garden beds properly, makes edging stay sharper longer by keeping soil from migrating. Start with one section of your yard, complete the edge-path-fill relationship there, and expand from that model. Small, complete improvements build momentum and prevent the piecemeal look that comes from tackling projects in isolation.
Start With One Complete Section
Rather than edging the entire yard at once, choose one bed or pathway and complete it fully - edge, infill, and any mulching or ground cover. A single finished section gives you a reference point for the rest of the yard and builds installation confidence before scaling up. This approach also makes it easier to evaluate whether a material or style suits your yard before committing to a large quantity.