Choosing the Right Approach for Your Damage
Not all drywall damage is equal, and using the wrong method wastes time and materials. Broadly, repairs fall into three categories:
- Hairline cracks (less than 1/16 inch wide): Usually caused by seasonal settling or minor flexing. These need only a thin skim of joint compound or a flexible crack filler.
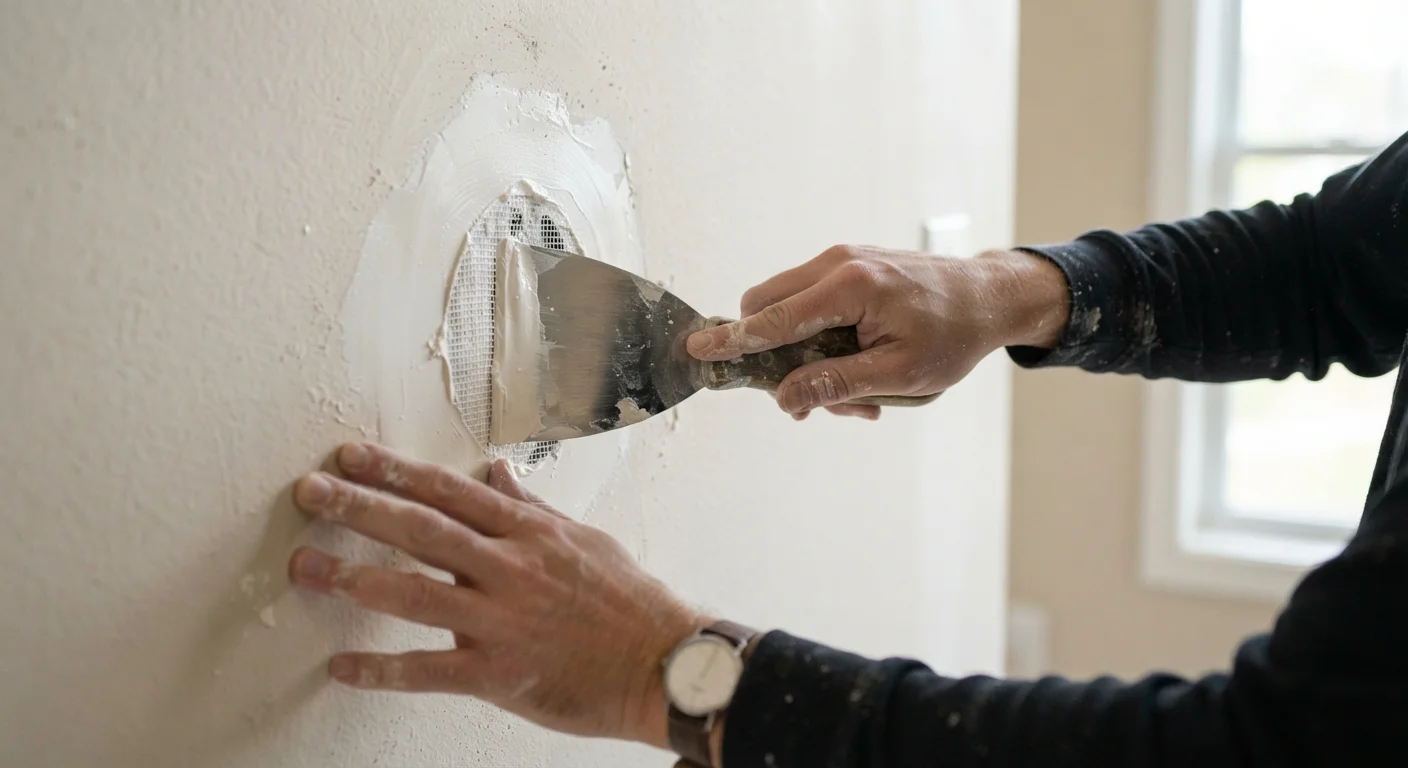
- Small holes (up to about 4 inches in diameter): Nail pops, doorknob dings, and anchored-screw pullouts fall here. Self-adhesive mesh patches handle these efficiently.
- Fist-sized and larger holes (4 inches or more): These require a rigid backing - either a California patch cut from spare drywall, a commercial backing clip, or a wood furring strip - before compound goes on.
Inspect the damage carefully before gathering supplies. If the wall feels soft or damp around the damaged area, investigate for moisture before patching; covering an active leak will only delay a larger problem.
What you will need
Tools and Materials You Will Need
Having everything ready before you start keeps the project moving and prevents compound from skinning over while you search for a tool.
Putty knife or drywall knife (4-6 inch)
Applies and smooths joint compound into and over the repair area.
Wide taping knife (10-12 inch)
Feathers compound edges over a broad area on the second and third coats.
Pre-mixed all-purpose joint compound
Fills and skins over the patch; thins slightly with water for finish coats.
Self-adhesive fiberglass mesh patch
Provides a stable base for compound over holes up to about 4 inches.
Drywall backing clips or wood furring strips
Supports new drywall sections when patching larger holes that need a backer.
Fine-grit sanding sponge or 120-grit sandpaper
Smooths dried compound between coats and before priming.
Drywall primer or PVA primer
Seals the patched area so paint absorbs evenly and flashing is avoided.
Utility knife
Trims ragged drywall edges and cuts patches to size for larger repairs.
For all repair sizes, work in a well-ventilated area and wear a dust mask when sanding dried compound - drywall dust is a respiratory irritant.
Step-by-Step Patching Instructions
Follow the steps below in order. Drying times vary by temperature and humidity, so err on the side of waiting longer rather than rushing into the next coat.
Prepare the Damaged Area
Clear the wall surface around the damage. For hairline cracks, use a utility knife to lightly widen the crack into a slight V-groove - this gives the compound something to grip. For holes, trim any torn or loose paper facing with a utility knife until you have clean, firm edges. Remove dust and debris with a dry brush or vacuum.
Apply Backing for Larger Holes
For holes larger than 4 inches, cut the opening into a clean rectangle or square using a utility knife and straightedge. Cut a piece of wood furring strip slightly longer than the hole width. Insert it through the hole, hold it flat against the inside of the drywall, and drive drywall screws through the existing wall face into the strip on each side. Cut a drywall patch piece to fit the opening, screw it to the furring strip, and proceed to taping the seams.
For medium holes (2-4 inches), peel the backing off a self-adhesive mesh patch and press it firmly over the hole, centred on the damage.
Apply the First Coat of Joint Compound
Load your 4-6 inch putty knife and press compound firmly into the crack or over the mesh patch, working it into any voids. Smooth the surface as flat as possible without worrying about perfection on this coat. Feather the edges outward a few inches beyond the damage. Let the coat dry completely - typically 4-8 hours depending on humidity.
Sand and Apply Subsequent Coats
Once the first coat is fully dry and uniformly white, sand it lightly with a fine-grit sanding sponge. Wipe away dust. Apply a second coat using your wider 10-12 inch knife, feathering the compound 2-3 inches beyond the first coat. Let dry, sand again lightly, then apply a third finish coat if needed - this coat should be very thin and wide, blending the repair into the surrounding wall. The goal is a surface you cannot feel with your hand when running it flat across the wall.
Prime and Prepare for Paint
Once the final coat is sanded smooth, apply a coat of drywall primer over the patched area, extending a few inches onto the surrounding paint. Allow the primer to dry per the manufacturer's directions. Lightly sand any raised texture with 120-grit paper and wipe clean. The surface is now ready for your finish paint. Matching the existing paint sheen and texture is the final step to a seamless result.
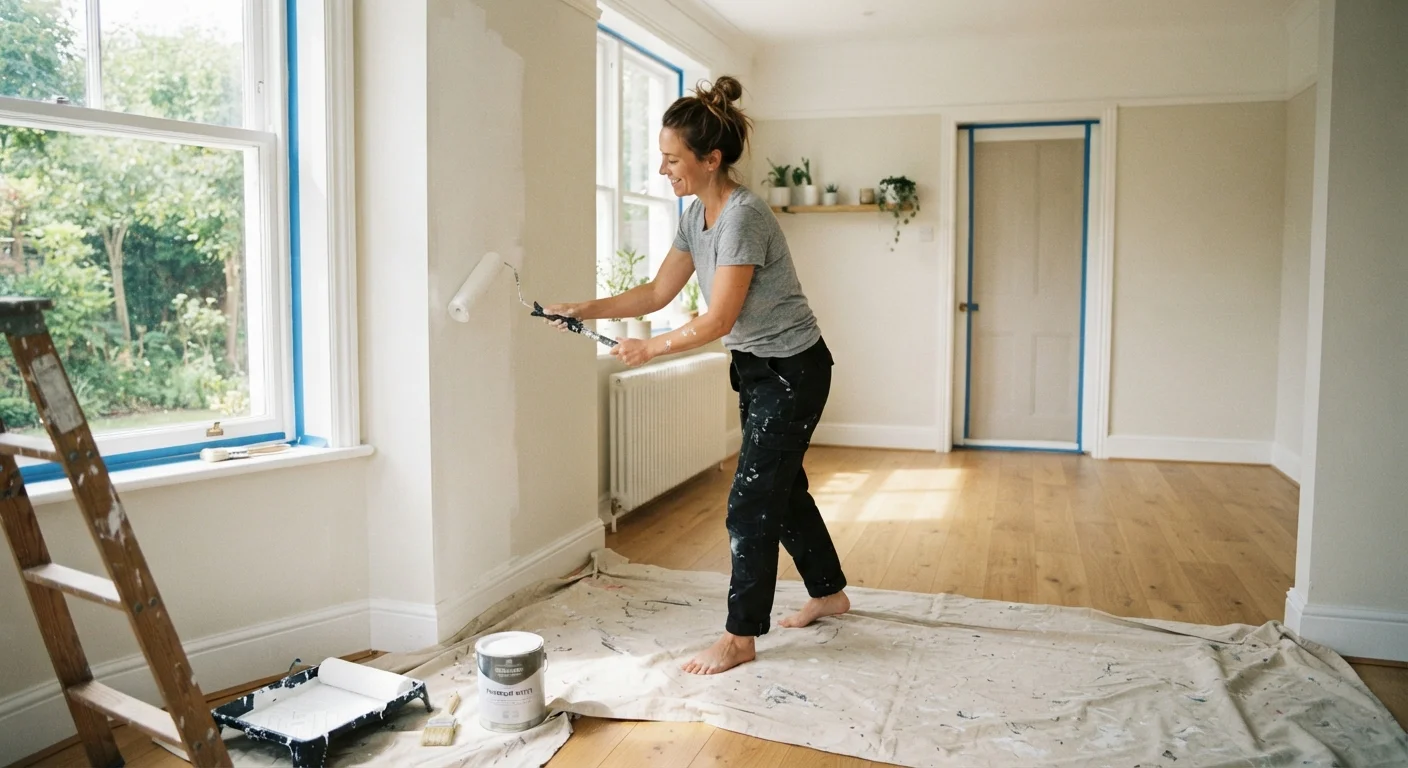
Once the final coat is sanded smooth and primed, the repaired area is ready for paint. For best results with your finish coat, see our guide to painting interior walls the way professionals do - proper wall prep makes the difference between a patch that disappears and one that announces itself every time the light hits it.
Common Mistakes and How to Avoid Them
Even straightforward patches can go wrong. Watch out for these frequent missteps:
- Applying compound too thick in one coat
- Thick coats crack as they shrink while drying. Keep each coat to roughly 1/8 inch or less, and build up gradually.
- Skipping the primer
- Unprimed compound absorbs paint unevenly, leaving a dull spot - called flashing - that shows through even after multiple paint coats. A coat of drywall primer sealer (or a PVA primer) solves this.
- Under-feathering the edges
- A patch blends in when its edges taper smoothly into the surrounding wall over several inches. If the perimeter of your compound feels like a ridge, sand it down and apply another thin coat wider than the previous one.
- Painting before the compound is fully cured
- Joint compound looks dry on the surface while still holding moisture inside. Wait until the repaired area is uniformly white - no darker patches - before sanding and priming.