Why the Door Jamb Sticker - Not the Tyre - Sets the Target
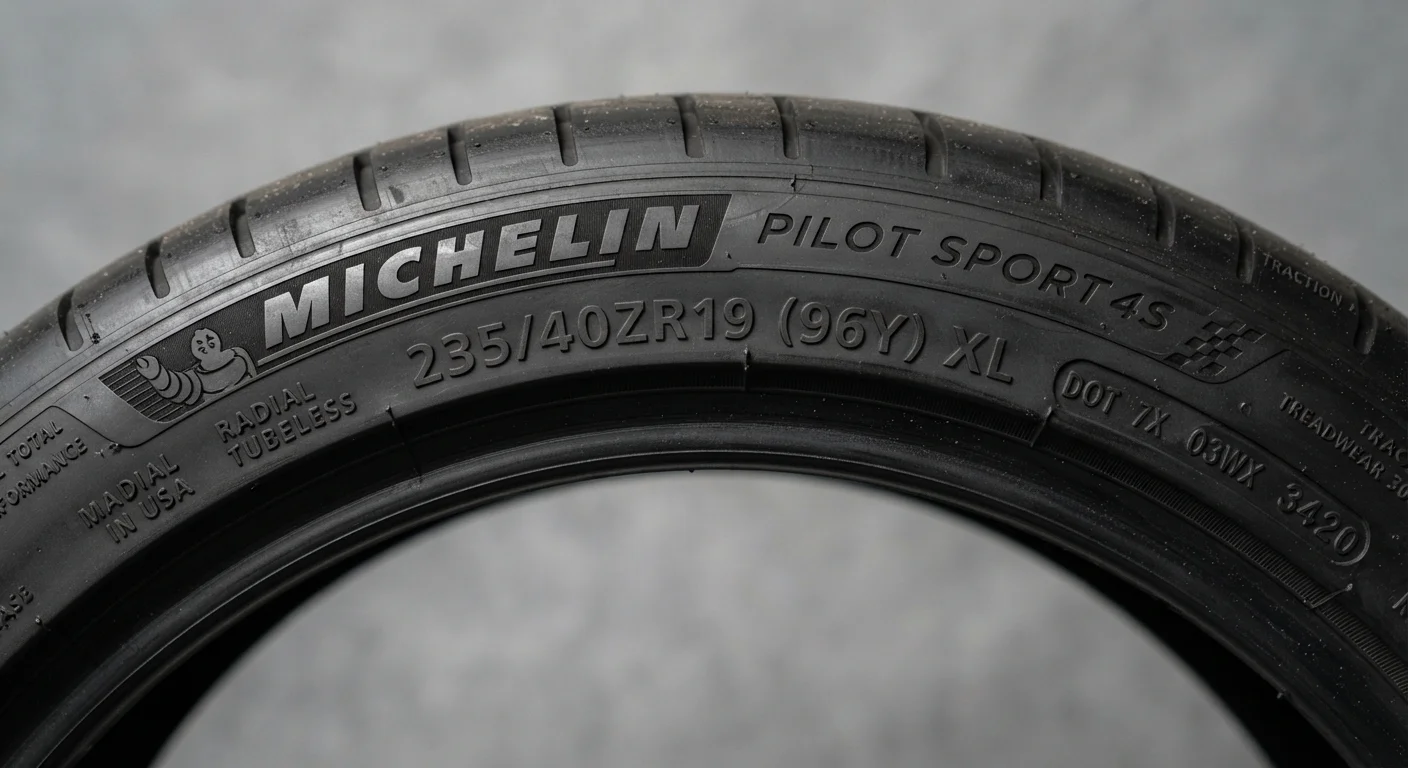
Many drivers glance at the number moulded into their tyre's sidewall and assume that's the pressure to aim for. It isn't. That figure - typically labelled Max. Press. - is the maximum pressure the tyre itself can safely contain, a structural limit set by the tyre manufacturer. It tells you nothing about what your specific vehicle needs to handle, brake, and corner safely.
The correct target is found on the placard sticker inside the driver's door jamb (sometimes in the glove box or fuel door on older vehicles). This number is determined by your vehicle's manufacturer after engineering the suspension, load distribution, and handling characteristics of that particular model. It's usually expressed in PSI (pounds per square inch) and may list separate values for front and rear tyres, or a higher figure for when the vehicle is fully loaded.
For a broader look at what's printed on your tyre itself, see our guide to reading tyre sidewall markings. Understanding both sources of information gives you the full picture.
Build a Monthly Pressure Check Habit
Tyres naturally lose roughly 1 PSI per month under normal conditions, and more in cold weather as temperatures drop. Setting a recurring monthly reminder - tied to something you already do, like paying a bill - makes it easy to stay consistent. Five minutes once a month is all it takes to keep all four tyres properly inflated.
What Happens When Pressure Is Wrong
Underinflation is the more common problem. A tyre with insufficient pressure flexes excessively as it rolls, generating heat that degrades rubber faster and can lead to blowouts on sustained highway driving. The contact patch - the footprint of tyre touching road - spreads outward, causing accelerated wear on the outer edges of the tread. Steering feels vague, braking distances increase, and fuel economy drops because the engine must work harder to push a tyre that isn't rolling efficiently.
Overinflation causes the opposite distortion: the tyre bulges at the centre, concentrating wear in a narrow strip down the middle of the tread. A hard, overinflated tyre transmits more road shock to the suspension and loses some of its ability to conform to road irregularities, reducing grip - particularly on wet surfaces.
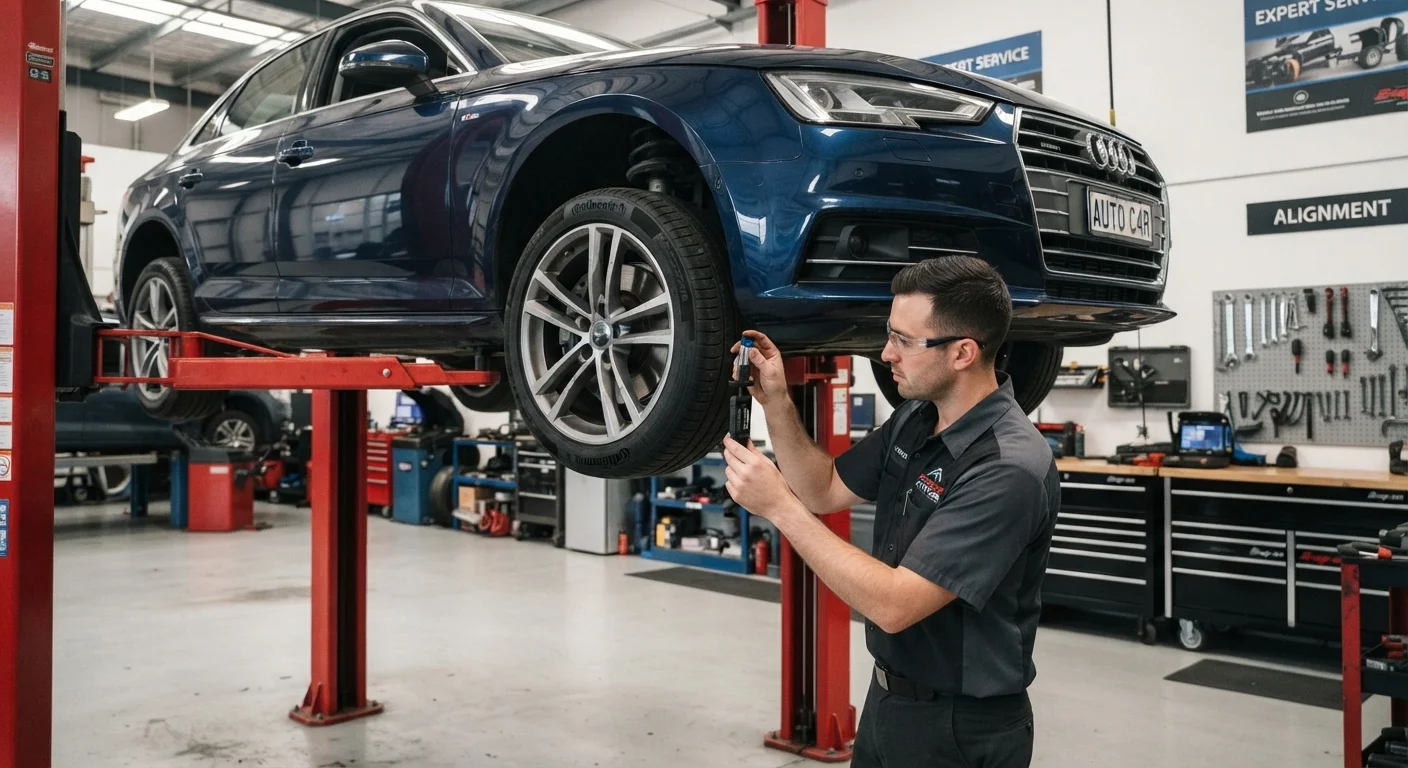
Either condition reduces the effective life of a set of tyres and undermines the safety margins your vehicle was designed to deliver. Tyre pressure is also closely connected to other maintenance tasks; our article on tyre rotation, balancing, and alignment explains how uneven wear from incorrect pressure can compound into alignment and balance problems over time.
TPMS Is a Warning System, Not a Maintenance Tool
Many vehicles sold after 2008 include a Tyre Pressure Monitoring System (TPMS) that illuminates a dashboard warning light when pressure drops significantly. However, TPMS typically triggers only when a tyre is 25% or more below the recommended pressure - a level already causing meaningful wear and handling degradation. Do not rely on TPMS as your primary pressure check; use a gauge monthly regardless of whether the light is on.
How to Check and Adjust Tyre Pressure
The process takes fewer than fifteen minutes for all four tyres plus the spare. Follow the steps below with your gauge and an air source ready.
What you will need
Find and note your vehicle's target pressure
Open the driver's door and locate the placard sticker on the door jamb or door edge. Write down the recommended PSI for front and rear tyres. If the sticker lists a load-dependent figure (e.g. for a full passenger load or towing), note which applies to your current use.
Check pressure only on cold tyres
Heat from driving expands the air inside a tyre and raises the gauge reading by 4-6 PSI or more. Check pressure before driving for the day, or after the vehicle has sat for at least three hours. If you must check after driving, note that readings will be higher than actual cold pressure and adjust accordingly - but ideally reschedule the check.
Remove the valve cap and seat the gauge
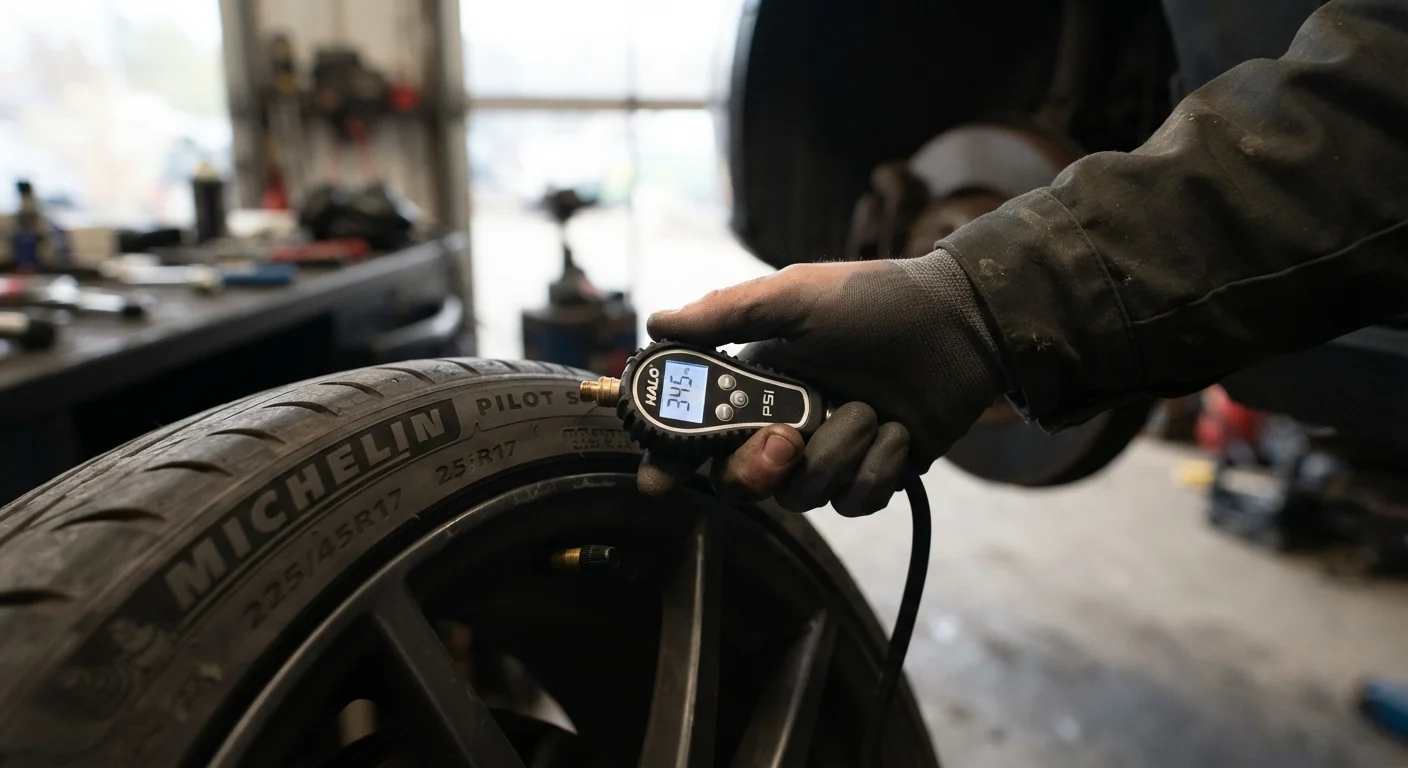
Unscrew the small rubber or metal cap from the valve stem (the short protrusion on the inner wheel rim). Press your gauge firmly and squarely onto the valve stem. A hissing sound means the seal isn't complete - reposition and press again. Read the pressure value displayed.
Compare the reading to the target and add or release air
If the reading is below target, attach an air compressor or pump nozzle to the valve stem and add air in short bursts, re-checking with the gauge after each burst until you reach the target. If the reading is above target, use the small pin on the back of most gauges (or a pen tip) to briefly depress the valve core and release air, then recheck. Repeat for each tyre.
Replace valve caps and check the spare
Hand-tighten each valve cap firmly after checking. Don't forget the spare tyre - it's easy to overlook and useless in an emergency if flat. Most compact spare tyres have a higher recommended pressure (often 60 PSI); check the label on the spare itself or the placard sticker.
This check fits naturally into broader vehicle care routines. If you're building habits as a newer driver, the car maintenance guide for new drivers covers the full range of checks worth scheduling regularly. Before any road trip, tyre pressure is also a key item on the pre-trip vehicle safety checklist.