Why a Pre-Trip Check Matters
Most vehicle breakdowns and a significant share of road incidents involve factors that a driver could have caught before leaving home - an underinflated tyre, a burnt-out brake light, or low coolant. Taking 10 to 20 minutes to run through a structured inspection is one of the simplest, lowest-cost habits any driver can build.
This checklist applies to everyday journeys as well as longer road trips. For longer drives across changing conditions, pair it with our seasonal maintenance guide to account for temperature extremes and weather-related wear. If you're new to vehicle ownership, our car maintenance guide for new drivers explains the underlying systems in more detail.
The checks below are grouped by area of the vehicle so you can move efficiently from one zone to the next without backtracking.
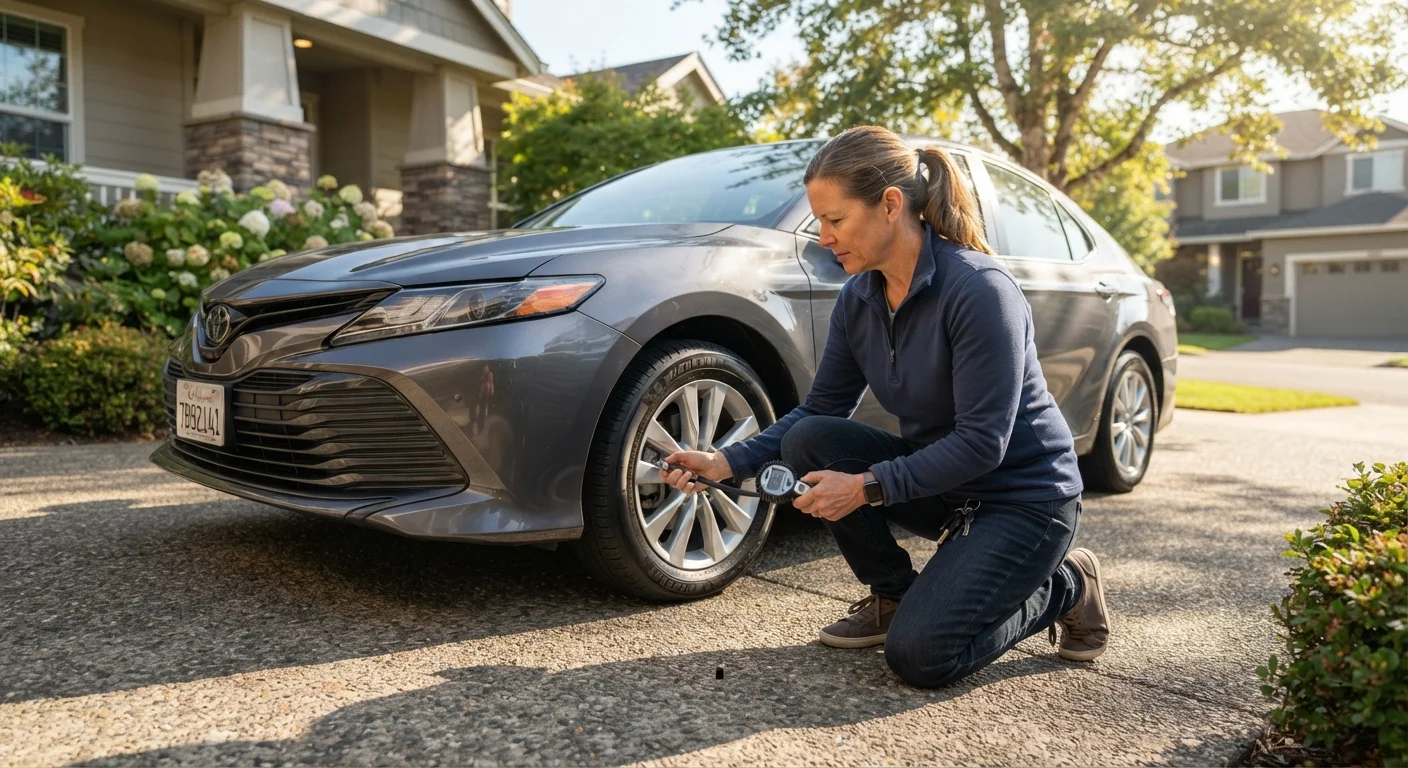
Tyre pressure gauge
Accurately measures tyre inflation so you can adjust to the manufacturer's recommended PSI.
Tread-depth gauge
Gives a precise measurement of remaining tyre tread to verify you meet the legal minimum.
Vehicle owner's manual
Provides the correct fluid grades, tyre pressures, and warning-light definitions specific to your vehicle.
Microfibre cloth
Cleans mirrors and glass quickly to ensure full visibility before departure.
Torch or phone flashlight
Helps you inspect tyre sidewalls and under-hood components in low-light conditions.
How to Use This Checklist
Work through each group in sequence - exterior first, then interior, then under the hood. Items marked must are non-negotiable safety checks; should items are strongly recommended; nice to have items add an extra layer of confidence for longer journeys.
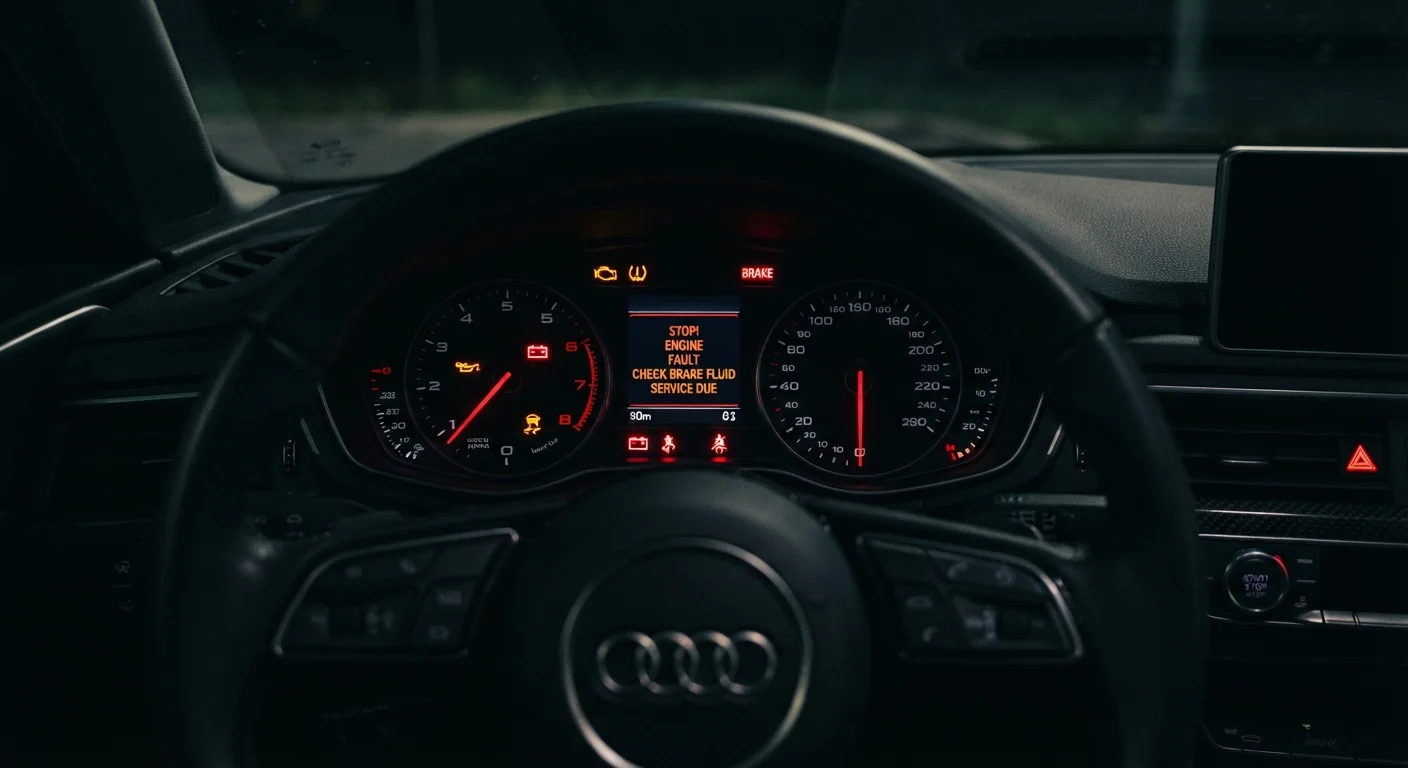
If your dashboard shows any warning symbols when you start the vehicle, look them up before proceeding. Our guide to dashboard warning lights explains what each symbol means and how urgently it needs attention. Never dismiss an illuminated warning light by assuming it will resolve itself en route.
Brake Fluid Low? Don't Drive Yet
A brake fluid level that has dropped suddenly - rather than declining gradually with brake pad wear - can signal a hydraulic leak in the braking system. This is a serious safety issue. If you are unsure why the level is low, do not drive the vehicle until a qualified mechanic has inspected the brake system.
Tyres
Lights and Signals
Fluid Levels
Mirrors and Visibility
Wipers and Safety Equipment
After the Check: Before You Pull Away
Once you've completed the physical inspection, take 60 seconds inside the cabin. Adjust your seat and steering wheel so you have full pedal travel and an unobstructed view. Set mirrors so you can see both rear quarters without moving your head significantly. Confirm your phone is mounted or stored - not in your hand - and that your route is loaded if you're using navigation.
For road trips that extend beyond your usual area, the broader pre-trip checklist covers documents, reservations, and other logistics you'll want to handle before departure. Keeping both checklists together means nothing slips through the cracks.
Don't Rely on Warning Lights Alone
Dashboard sensors are a helpful safety net, but they don't catch everything. Tyre pressure monitors, for example, typically only alert you once pressure has dropped significantly - by which point handling can already be compromised. A visual and gauge-based inspection is always more reliable than waiting for a light to appear.
This article provides general vehicle safety information for educational purposes. It is not a substitute for guidance from a qualified mechanic. If you identify a fault you are unsure how to address, have the vehicle inspected by a professional before driving.