Why Preparation Does Most of the Work
Ask any experienced painter what separates a lasting finish from a peeling, patchy one, and the answer is almost always the same: preparation. The application phase - rolling paint onto a wall - takes relatively little time. It's everything that comes before it that determines the final result.
Homeowners who skip prep steps often find themselves repainting within a year or two, not because they chose the wrong color or brand, but because the surface beneath wasn't ready to hold paint properly. A wall that looks smooth may have grease residue, hairline cracks, or old texture that will telegraph through even multiple coats.
Interior painting is one of the more accessible home improvement projects that can add lasting value - but only when done correctly. Rushing through it produces results that subtract rather than add to a room's appeal.
Clean walls thoroughly before any patching or priming begins.
Dust, grease, and residue from cooking or handling act as a barrier between the paint and the wall surface, causing adhesion failure. Even walls that appear clean often carry invisible contamination, especially in kitchens and near light switches.
Fill every crack, hole, and dent with appropriate patching compound and sand smooth.
Paint does not hide imperfections - it highlights them, particularly with sheen finishes like satin or semi-gloss. Small holes and cracks become far more visible once light hits a freshly painted surface.
Apply primer before topcoats on any bare, patched, or stained surface.
Primer seals porous spots, improves adhesion, and creates a uniform base so topcoat color appears consistent. Skipping it on patched areas causes 'flashing,' where some spots absorb paint differently and appear dull or blotchy.
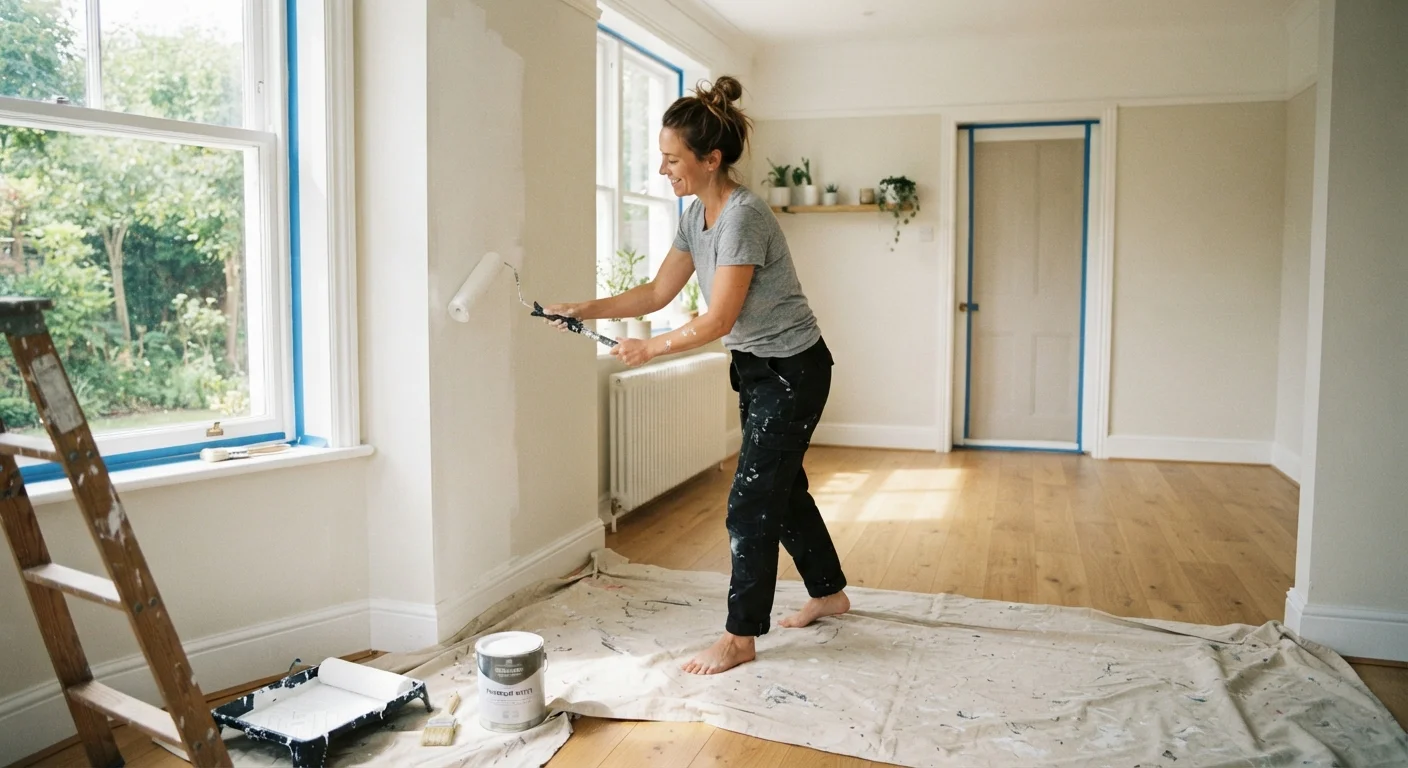
Cut in edges with a brush before rolling the field of the wall.
Rolling too close to corners, trim, and ceilings risks covering surfaces you didn't intend to paint and leaves a different texture at the edges. Cutting in first creates a clean boundary the roller can then meet cleanly.
Apply two thin coats rather than one heavy coat.
Thick coats of paint sag, take far longer to cure, and are prone to cracking as they dry unevenly. Thin coats build coverage gradually and cure harder and more uniformly.
Use painter's tape strategically and remove it at the right moment.
Tape left on too long - especially in warm or humid conditions - can bond to the surface and pull off dried paint when removed. Tape applied to dusty or unsealed surfaces may allow bleed-through regardless.
The Steps Professionals Follow Every Time
The practices below aren't exclusive to professionals - any homeowner can follow them. What sets experienced painters apart is consistency: they apply these steps on every job, not just the ones where it seems obviously necessary.
Common Mistakes That Undermine the Finish
Even diligent DIYers can run into problems if a few key principles are misunderstood. One of the most common errors is painting over surfaces that haven't fully dried after cleaning or patching. Moisture trapped beneath paint causes bubbling and peeling that no amount of additional coats can fix.
Another frequent issue is skipping primer on fresh drywall or over stains. Primer seals porous surfaces and blocks discoloration from bleeding through. Without it, even expensive paints tend to look uneven after the first coat and may require three or four applications to achieve coverage that two primed coats would deliver.
Check Humidity and Temperature Before You Start
Paint adheres and cures best within a temperature range of roughly 50-85°F and at relative humidity below 85%. Painting in cold, damp, or extremely hot conditions can cause slow curing, bubbling, or poor adhesion even when all other steps are followed correctly. If you're painting in a room with poor ventilation, use fans and open windows to maintain airflow - this also helps manage paint fumes safely.
Finally, many homeowners underestimate how much the quality of their tools matters. A low-quality roller can leave lint in the paint film or create an inconsistent texture. Investing in a good roller cover and quality brushes for cut-in work pays dividends in finish quality, and those tools can be cleaned and reused many times.
“The paint itself is the last five percent of the job. Everything before it - the cleaning, the patching, the priming - is what you're actually paying a professional for.”
— A veteran residential painting contractor, With over two decades of interior finishing experience