What a Rain Garden Is - and What It Isn't
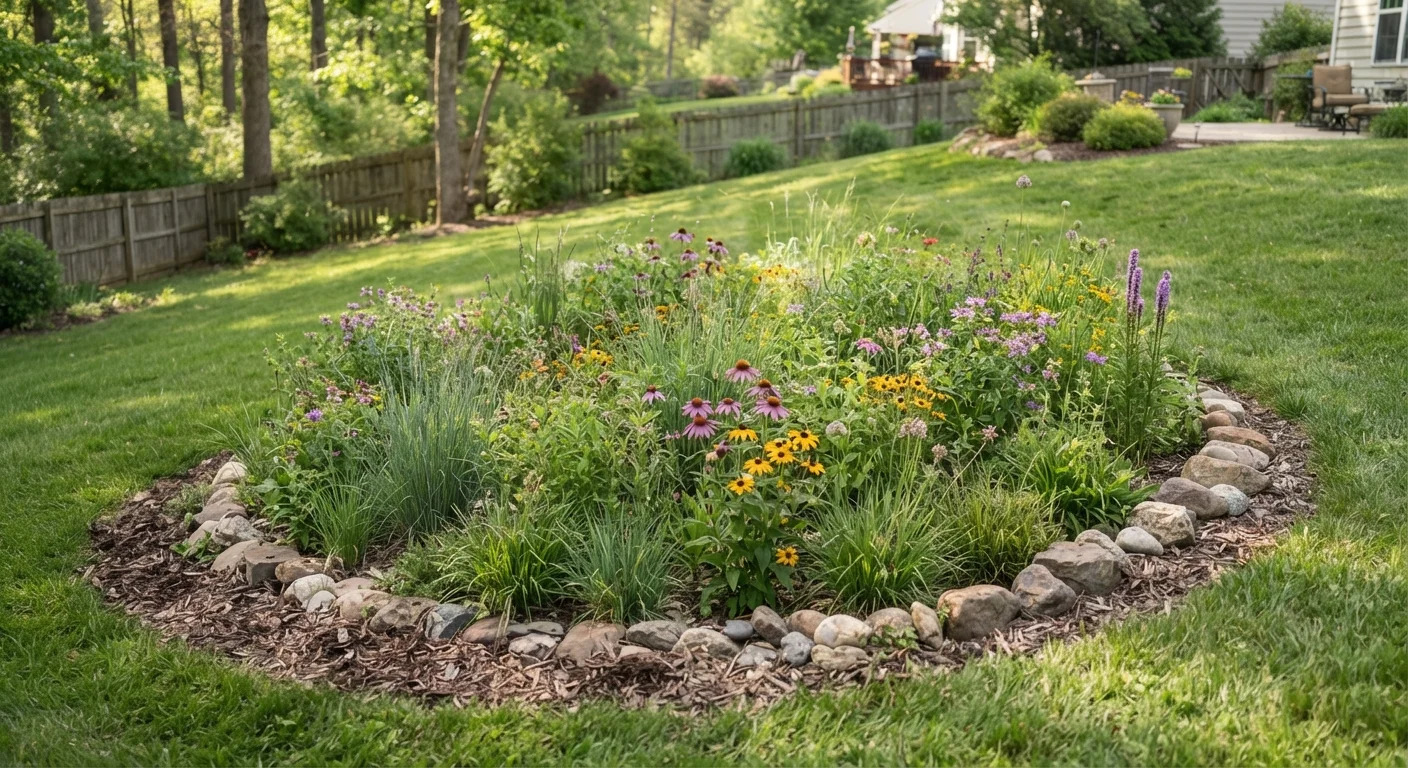
A rain garden is a shallow, bowl-shaped planting bed designed to collect and temporarily hold stormwater runoff from impervious surfaces such as driveways, rooftops, and compacted lawns. Rather than letting that water race toward storm drains or pool against your foundation, a rain garden channels it into a planted depression where it can slowly infiltrate the soil over 24 to 48 hours.
This is not a pond. A properly built rain garden drains completely between rain events, which means it does not become a standing-water mosquito habitat. It's also not a wetland garden - the plants selected must tolerate both temporary flooding after a storm and dry conditions between events. That drought-wet cycle rules out most traditional garden plants but opens the door to a wide range of native species that thrive with minimal intervention.
For homeowners dealing with soggy lawn patches, muddy downspout splash zones, or erosion along a slope, a rain garden offers a functional fix that doubles as a landscape feature. It also complements other low-effort yard strategies - see our guide to designing a low-maintenance yard for the broader planning picture.
Planning and Siting Your Rain Garden
Before you dig, three factors determine whether your rain garden will work or cause new problems: location, size, and soil infiltration rate.
Location Rules
- Keep at least 10 feet from any foundation to prevent water from migrating toward basement walls or footings.
- Stay 25 feet from septic systems and confirm there are no underground utilities in the area by calling 811 (the national dig-safe hotline) before breaking ground.
- Choose a spot with a gentle slope - 2% to 7% grade is ideal. Steeper slopes require additional earthwork to create a level basin.
- Avoid natural low spots that already collect water; soil there often drains poorly.
Sizing the Garden
A common rule of thumb is to make the rain garden roughly one-quarter to one-third the size of the drainage area feeding it (e.g., the portion of roof or driveway directing water toward this spot). A 400-square-foot roof section typically warrants a 100-130-square-foot garden. Adjust upward if your soil is heavy clay.
Testing Infiltration
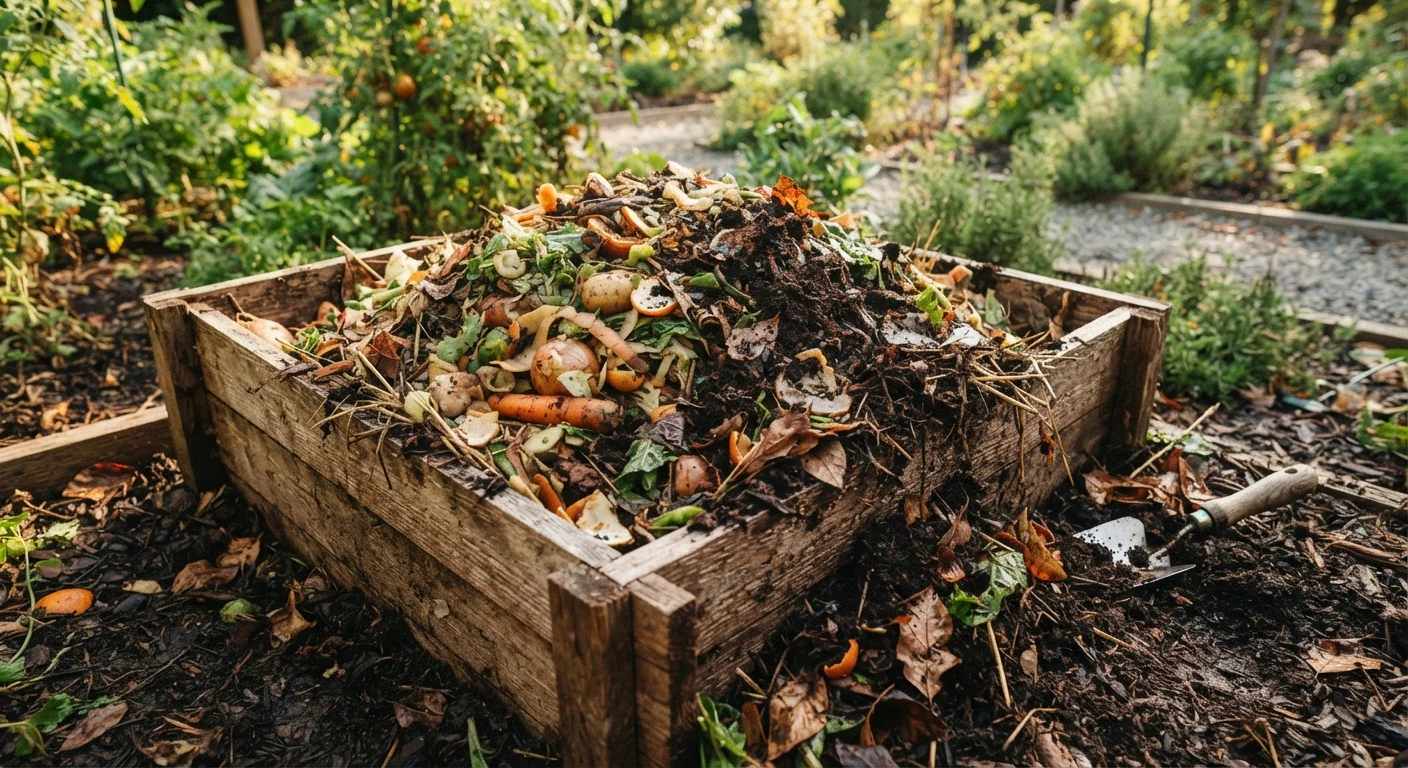
Dig a hole about 6 inches deep and fill it with water. If it drains in under 24 hours, you have workable infiltration. If it sits longer, you'll need to amend the soil or reconsider the site. Adding a mix of 50-60% sand, 20-30% compost, and 20-25% topsoil to a depth of 18-24 inches significantly improves drainage in clay-heavy yards. Compost also feeds the plants over time - pairing this with home-made material is a smart budget move, as covered in our article on composting at home.
What you will need
Step-by-Step: Building the Garden
With your site selected and measurements in hand, follow these steps to excavate, amend, and plant your rain garden.
Mark and excavate the basin
Use a garden hose or spray marking paint to outline the garden's shape on the ground - an oval or kidney shape handles water flow better than sharp corners. Excavate the center to a depth of 6-8 inches, sloping the bottom gently so it is level across the basin floor. Set aside the removed topsoil for use in the amended fill mix.
Build the downslope berm
On the lowest edge of the basin (the downslope side), mound and compact excavated soil into a berm 4-6 inches higher than the surrounding grade. This low wall holds water in the basin long enough for it to infiltrate. Tamp it firmly to prevent slumping during the first heavy rain.
Amend the soil in the basin
Remove the existing basin soil to a depth of 18-24 inches if infiltration was poor. Backfill with a mix of approximately 50-60% coarse sand, 20-30% compost, and the remainder quality topsoil. Mix thoroughly and tamp lightly - the bed will settle slightly after the first rain.
Direct water into the garden
Extend or redirect the downspout that serves this drainage area toward the garden's inlet edge using a flexible downspout extension or a shallow grass-lined swale. The inlet point should enter the garden on the upslope side so water flows across the full basin floor before reaching the berm.
Plant in zones and mulch
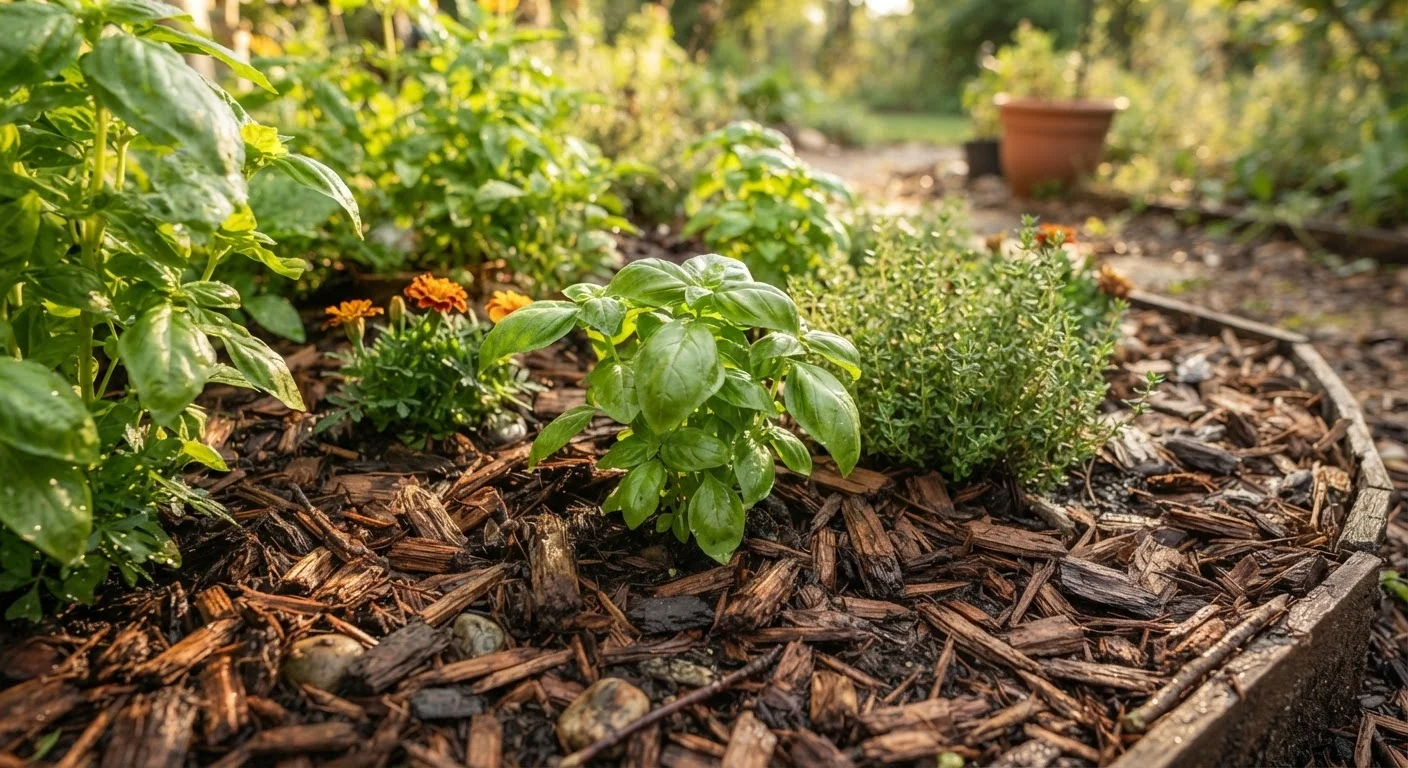
Follow the zone planting strategy - wet-tolerant species in the center, transitional plants in the middle ring, and stabilizing plants on the berm. Plant during early fall or early spring when temperatures are mild and rainfall helps with establishment. Water in thoroughly after planting, then apply 2-3 inches of shredded hardwood mulch across the entire bed, keeping mulch a few inches clear of plant stems.
Mulch and Edging Make Maintenance Easier
Once plants are established, a consistent mulch layer dramatically cuts weeding time and helps the basin hold moisture during dry spells. Pair this with a clean physical edge - metal, stone, or even a simple spade-cut border - to keep lawn grass from migrating into the bed and competing with your native plantings.
Once plants are established, layer 2-3 inches of shredded hardwood mulch over the bed each spring to suppress weeds and retain moisture during dry spells. Our guide to mulching garden beds covers material choices and depth in detail. Define the garden's edge with a simple border to keep lawn grass from encroaching - edging and border options are worth reviewing before you finalize the shape.
Choosing Plants That Earn Their Place
Plant selection is where a rain garden shifts from a drainage fix to a landscape asset. The key requirement: plants must tolerate both temporary inundation (the wet zone in the basin's center) and dry-to-normal conditions (the edges and berm).
Zone Planting
- Center (wettest zone): Sedges, blue flag iris, swamp milkweed, and Joe-Pye weed handle periodic waterlogging well.
- Middle ring: Black-eyed Susan, switchgrass, and coneflower bridge wet and dry conditions effectively.
- Outer berm: Little bluestem, wild bergamot, and dense-growing groundcovers stabilize the raised edge and transition to the surrounding lawn.
Prioritize plants native to your region. Native species are pre-adapted to local rainfall patterns, need little or no supplemental watering after establishment, and actively support native pollinators and birds. Your local cooperative extension service can provide a region-specific plant list at no cost - a worthwhile first stop before purchasing anything.
Space plants according to their mature spread, not their current pot size. Overcrowding accelerates establishment but often requires thinning within a few seasons. Underplanting early on means more weeding - mulch fills the gap well in the interim.