Why Spring Preparation Makes or Breaks Your Garden Season
Most garden disappointments-poor germination, persistent weeds, struggling transplants-trace back to preparation shortcuts taken in spring. The weeks before planting are your highest-leverage window: soil is workable, beds are empty, and there's still time to fix problems before they compound.
This checklist walks you through every major prep task, organized by category so you can tackle them in logical order. Whether you're working a few containers on a patio or managing in-ground beds across a large yard, the fundamentals are the same. Use this list to confirm you haven't missed anything before your first seed goes in the ground.
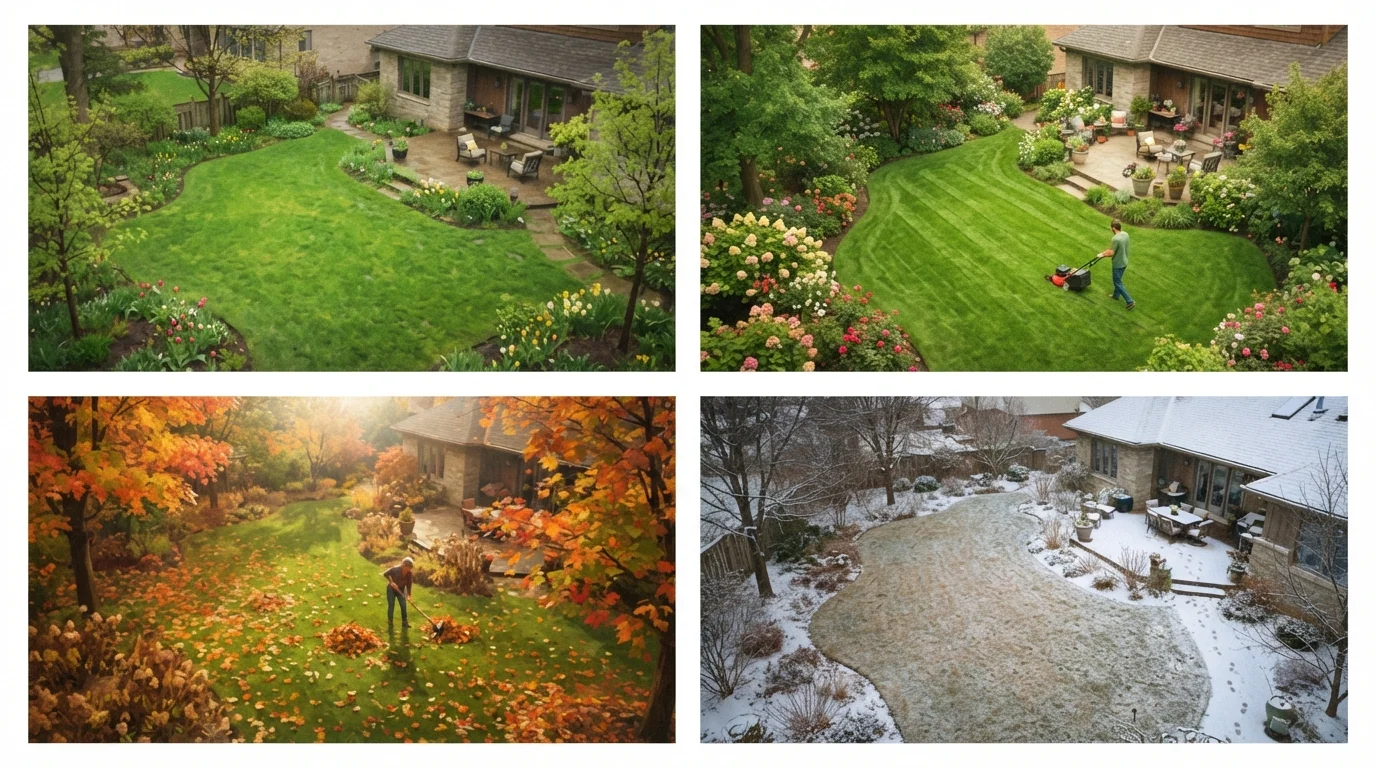
For a broader view of how spring garden work fits into your full-year routine, see our year-round lawn and garden maintenance calendar.
Soil Assessment
Bed Clearing and Cleanup
Tool Inspection and Maintenance
Planting Plan and Timing
Soil Amendment and Bed Finishing
Tools, Amendments, and Materials to Have Ready
Working through this checklist is much easier when you're not stopping mid-task to hunt for supplies. Before you start, gather or confirm access to the following:
Soil test kit or extension service mailer
Provides accurate pH and nutrient data so amendments are targeted rather than guesswork.
Spade or garden fork
Used to turn and loosen soil and work amendments into the bed evenly.
Pruning shears and loppers
Needed for cutting back perennials, ornamental grasses, and any woody growth in beds.
Wheelbarrow or garden cart
Makes transporting compost, mulch, and debris efficient across the yard.
Compost or soil amendment
Improves soil structure and fertility based on soil test recommendations.
Mulch (wood chip, straw, or shredded bark)
Applied after bed prep to retain moisture, regulate temperature, and suppress weeds.
Whetstone or metal file
Used to sharpen hoe blades, pruners, and spades for cleaner, easier cuts.
Garden hose with adjustable nozzle
Needed to water newly amended beds and test irrigation before transplants go in.
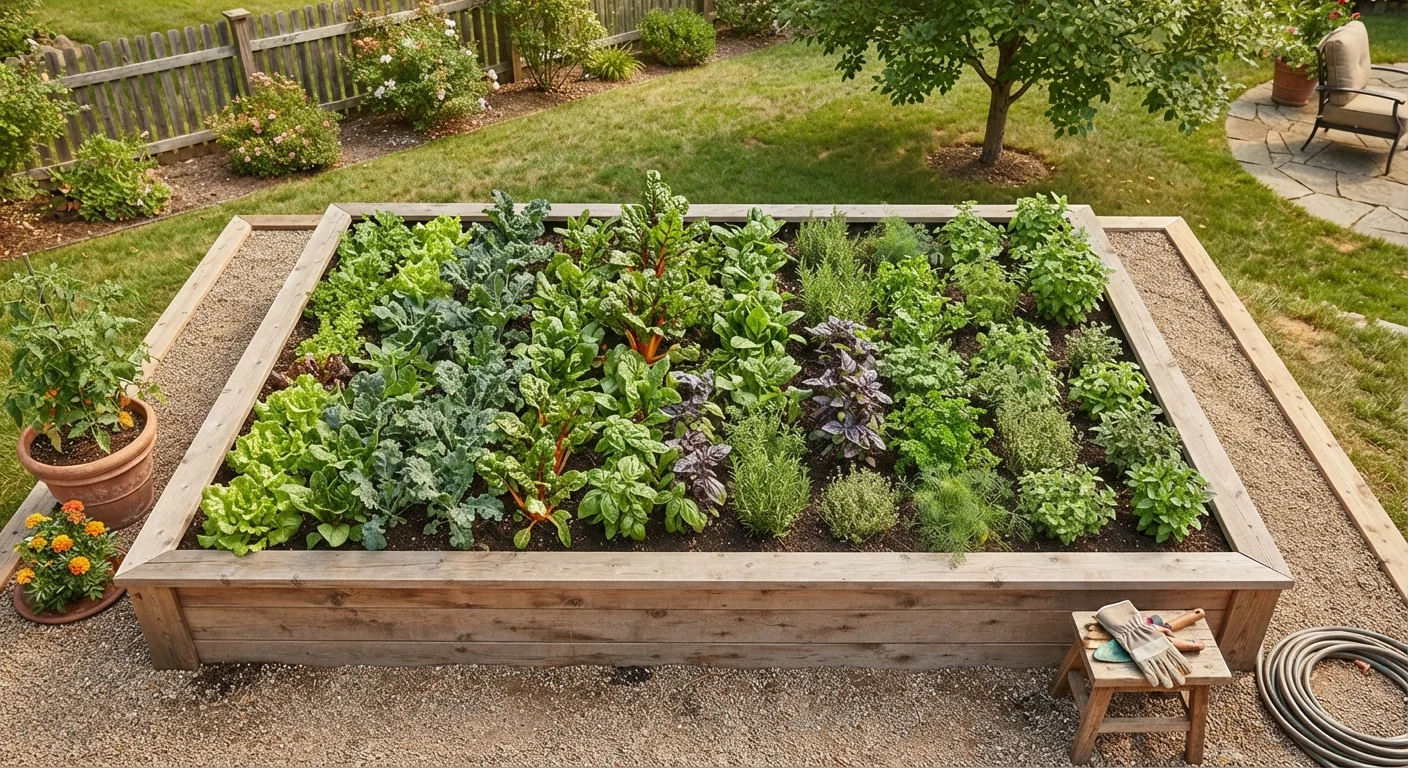
If you're considering adding or expanding raised beds this season, our guide to raised bed gardening covers layout, soil selection, and timing from start to first harvest.
Don't Work Wet Soil
Digging or tilling soil while it's saturated compacts the structure and damages the pore spaces plants depend on for root growth and drainage. Do a simple squeeze test: grab a handful of soil and press it-if it crumbles when you open your hand, it's ready to work. If it holds a sticky ball shape, wait another day or two before disturbing the bed.
Soil, Mulch, and Bed Finishing
Once debris is cleared and your soil test results are in hand, the final preparation phase focuses on building the growing environment your plants will rely on all season. Amend soil based on actual test results-adding what's deficient rather than applying a generic mix-then finish beds with a consistent layer of mulch.
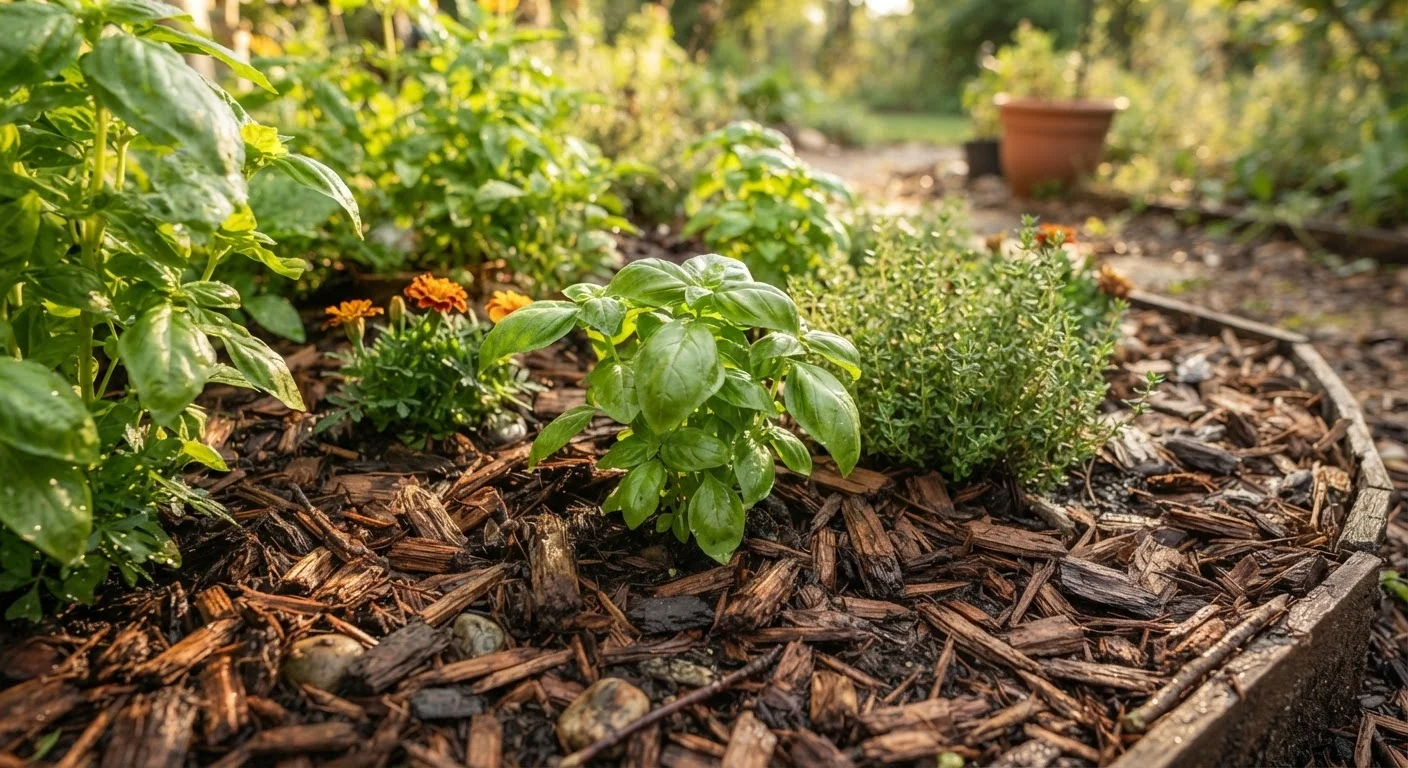
Proper mulching reduces watering frequency, suppresses weed germination, and helps regulate soil temperature during late cold snaps. For depth guidelines, material comparisons, and timing advice, our mulching guide covers the practices that genuinely move the needle.
Verify Your Last Frost Date Before Transplanting
Putting warm-season transplants like tomatoes and peppers in the ground before your area's last frost date can kill them overnight, wasting both money and weeks of growing time. Last frost dates are averages, not guarantees-a late cold snap can occur even after the typical date. Check local historical data through your state's cooperative extension service and be prepared to cover sensitive plants if temperatures are forecast to drop below 40°F in the nights following transplanting.
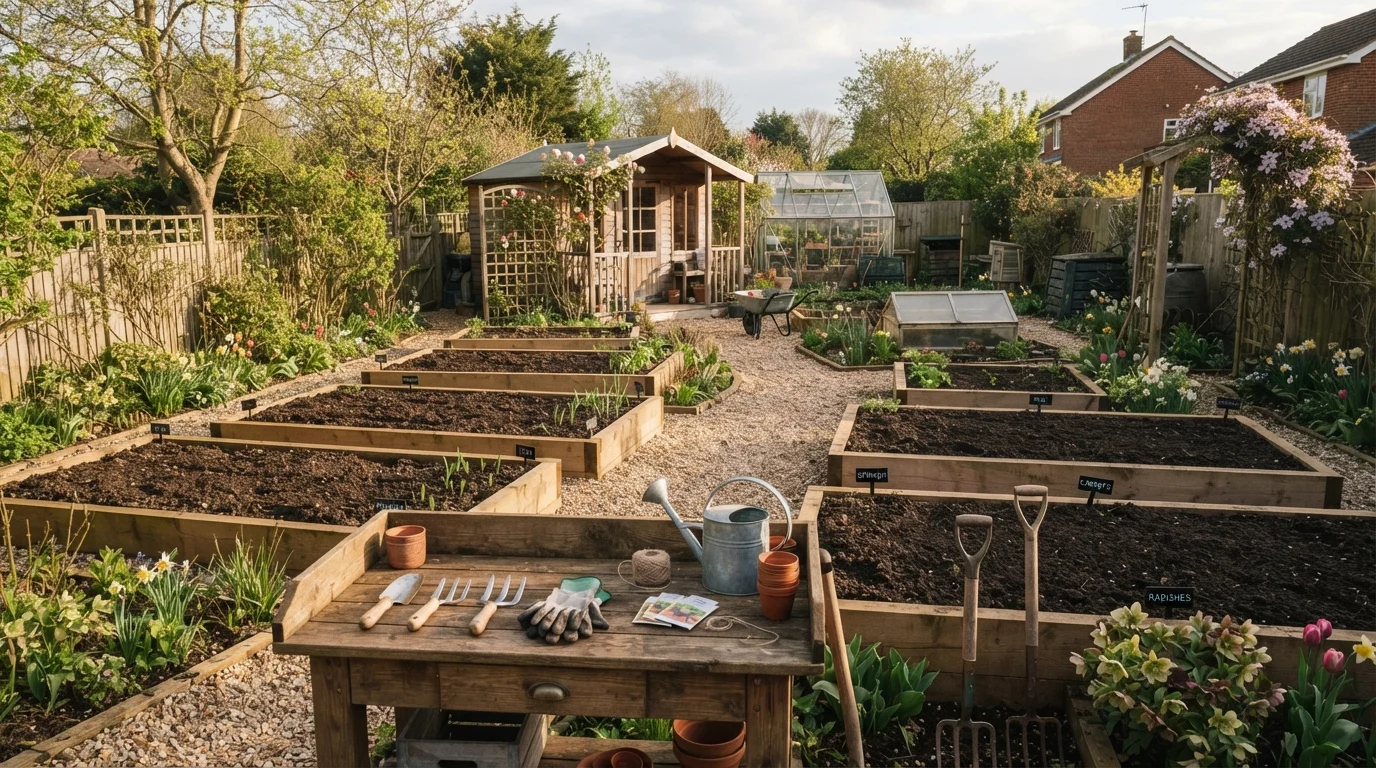
After completing your preparation, do a final walkthrough before planting day. Check that bed edges are defined, irrigation is functional, and any new amendments have been worked in evenly. A garden that's well-prepared absorbs transplants and seeds with far less transplant shock and far fewer early-season setbacks.