Why Your Setup Before You Drive Matters
Most drivers spend years making the same unconscious adjustments - nudging the seat back, glancing at mirrors - without understanding why those adjustments matter. The truth is, how you sit in your vehicle directly influences your reaction time, steering authority, and, critically, how well the car's safety systems protect you if a crash occurs.
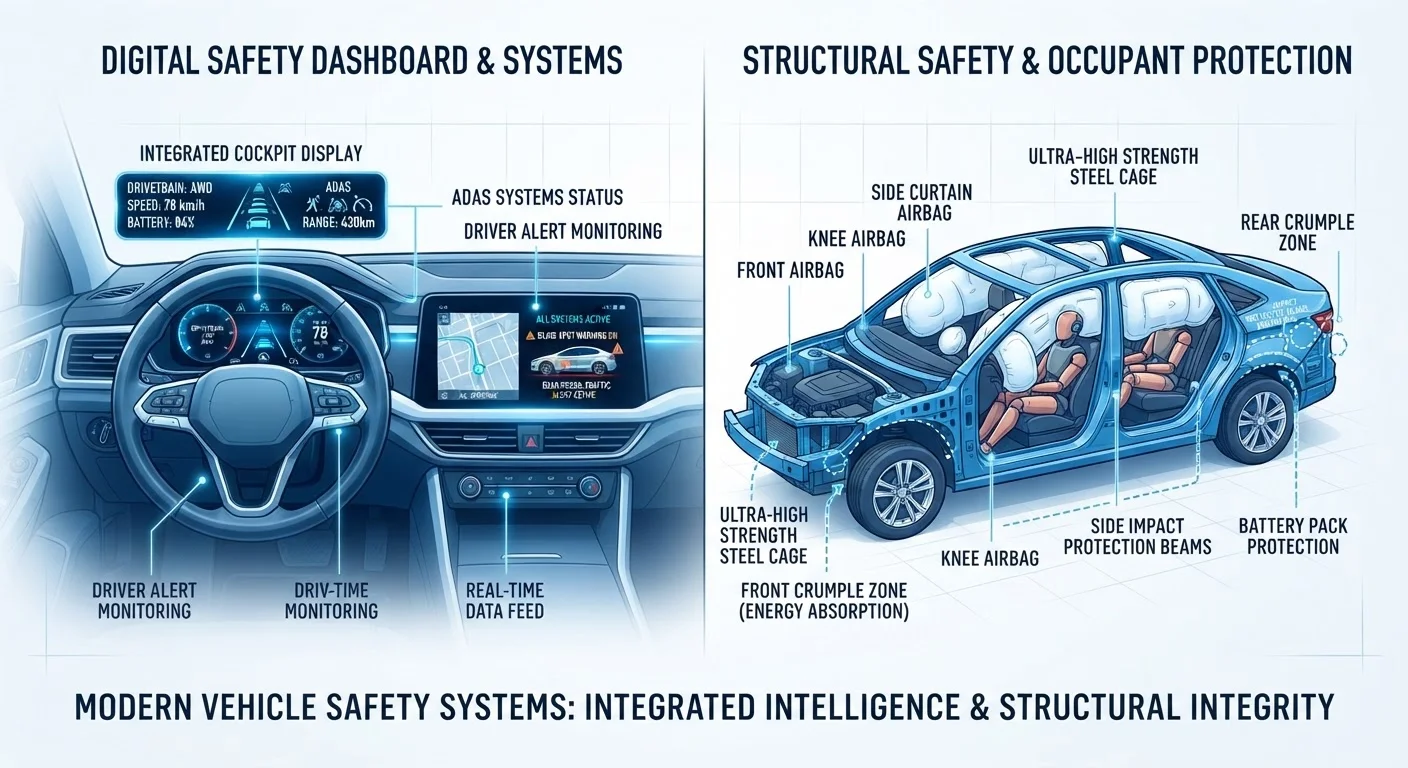
Airbags are calibrated assuming the driver is seated at a specific distance from the wheel. Mirrors set for another driver leave dangerous gaps in your field of view. A seat back angled too far rearward reduces the effectiveness of your seatbelt. None of these are hypothetical concerns - they're documented factors in crash injury severity.
Before you explore how active and passive safety systems work, it's worth ensuring your physical setup lets those systems do their job. Getting this right costs nothing and takes less than two minutes.
Core Practices for a Safer Seating Position
The following practices cover everything from seat distance to headrest height. Each one is grounded in established vehicle safety guidance rather than personal preference.
Set your seat distance so your knees are slightly bent when pressing the pedals fully.
Locking your knees straight while braking sharply reduces leg strength and slows response time. A slight bend - typically around 120 degrees - allows full, forceful pedal application when you need it most. It also ensures you're not stretching to reach the pedals, which compromises posture and steering control.
Position the seat back at roughly a 100-110 degree recline - upright but not rigid.
A sharply reclined seat back causes you to 'submarine' under the lap belt in a frontal crash, increasing abdominal injury risk. An upright angle keeps the shoulder belt across your chest where it's designed to restrain you, and keeps your head closer to the headrest.
Set the headrest so its center aligns with the top of your ears.
Headrests - more accurately called head restraints - limit how far your head snaps backward in a rear collision, reducing whiplash injury. A headrest set too low acts as a pivot point, actually worsening neck strain. Many drivers treat headrest height as a comfort setting and leave it wherever a previous occupant left it.
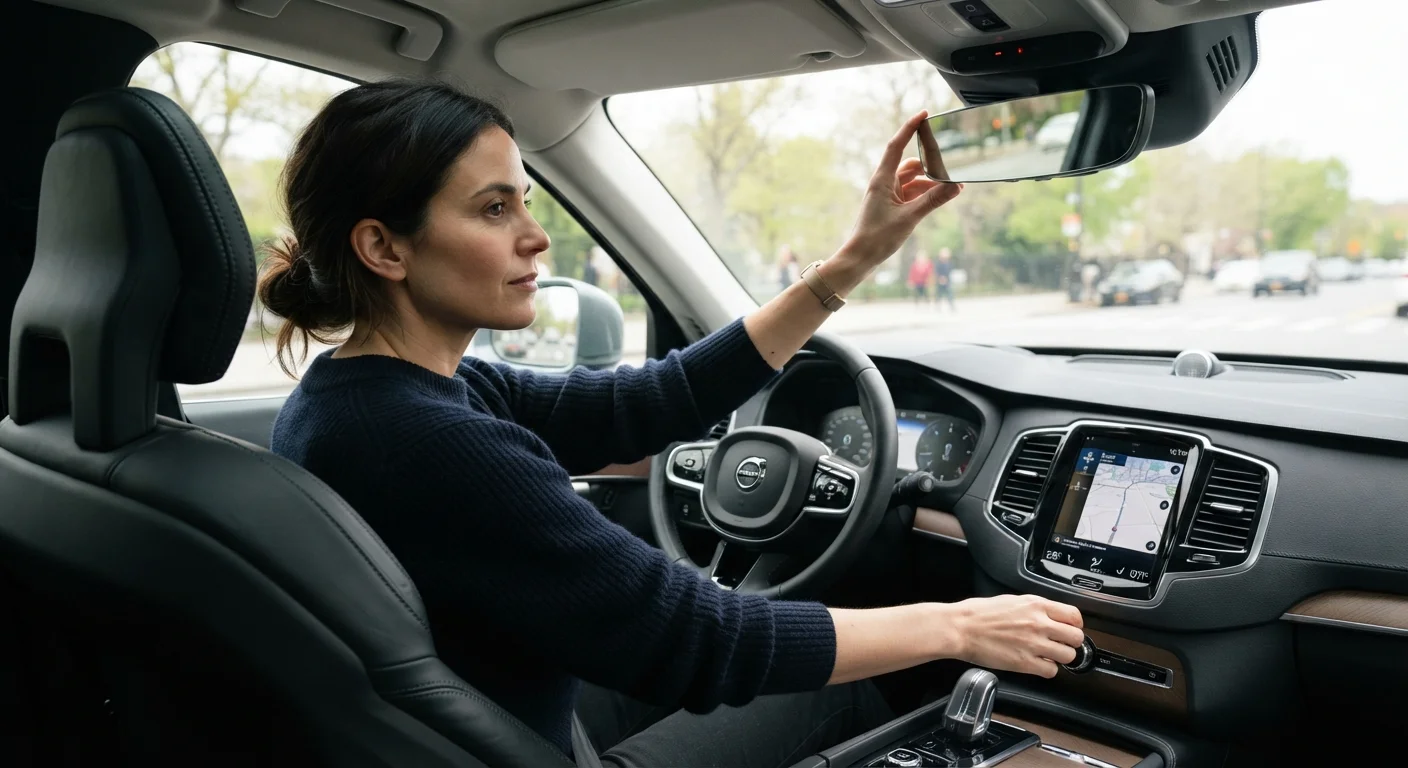
Adjust mirrors so lane markings and the rear of your vehicle are barely visible at the inner edge of each side mirror.
A common mistake is angling side mirrors inward to see the side of your own car - this wastes mirror coverage on a surface you already know is there. Angling them outward to the point where your car just disappears from view maximizes the rear-quarter view and dramatically reduces blind spots.
Hold the steering wheel at the 9 o'clock and 3 o'clock positions with a relaxed, firm grip.
The older 10-and-2 grip positions hands in the path of airbag deployment, which can cause serious arm and hand injuries in a crash. The 9-and-3 position keeps hands below the airbag's expansion zone while providing balanced leverage for steering inputs. A death-grip tightens shoulder muscles and slows reaction time; keep enough tension to feel feedback, not to fight the wheel.
Buckle your seatbelt so the lap portion sits low across your hips, not across your abdomen.
A lap belt riding across the soft tissue of the abdomen can cause serious internal injury during a sudden stop. The lap belt should anchor across the bony hip structure, which can absorb crash forces without internal organ compression. The shoulder belt should cross the center of your chest, not your neck.
Once your physical setup is correct, pair it with the right mental approach. Distraction takes many forms beyond phone use - and a well-adjusted driver is far better positioned to respond when something unexpected happens.
Quick Actions You Can Take on Your Next Drive
If any of the practices above are new to you, start here. These are the fastest, highest-impact adjustments you can make today.
Building these habits early pays long-term dividends. If you're newer to driving, our guide for new drivers covers the broader set of vehicle habits worth developing from the start. And before any longer journey, a pre-trip vehicle safety check ensures your car is as ready as you are.