
Why Tracking Prices Is a Skill Worth Building
Most major purchases happen reactively: an appliance breaks, a laptop slows to a crawl, or a retailer's promotional email catches you at the right moment. Without baseline price data, it's nearly impossible to know whether you're paying a fair price or an inflated one. Retailers count on that uncertainty.
Price tracking doesn't require technical sophistication or hours of research. It requires a simple system, a small time commitment each week, and the discipline to wait when the data says waiting is worth it. That last part is where most people lose ground — not because they lack information, but because they lack a habit.
This approach fits naturally alongside other money-conscious practices. If you already track your spending by hand, you can keep your purchase tracker in the same notebook. If you prefer digital tools, a basic spreadsheet works just as well.
Sales Events Don't Always Mean Lower Prices
Retailers sometimes raise a product's reference price before a sale to make the discount look larger than it is. Without price history data, it's difficult to tell whether a "sale" price is genuinely lower than the item's typical cost. Always verify with a price history tool before assuming you're getting a deal. Our guide on evaluating discounts objectively covers this in more depth.
What You'll Need Before You Start
The tools for price tracking are minimal and largely free. What matters most is having them set up before you start shopping — not after you've already spotted something you want to buy.
What you will need
Price history browser extension
Displays a product's historical price data directly on retailer pages so you can assess whether the current price is typical or elevated.
Spreadsheet or notes app
Stores your target prices, current prices, and check-in dates in one organized place you can review weekly.
Retailer or third-party price alert tool
Sends an email or notification when a tracked item drops to or below your specified target price.
Seasonal pricing reference
Helps you identify which months historically see lower prices for your product category, so you can time your purchase window.
Pair Price Tracking With a Seasonal Calendar
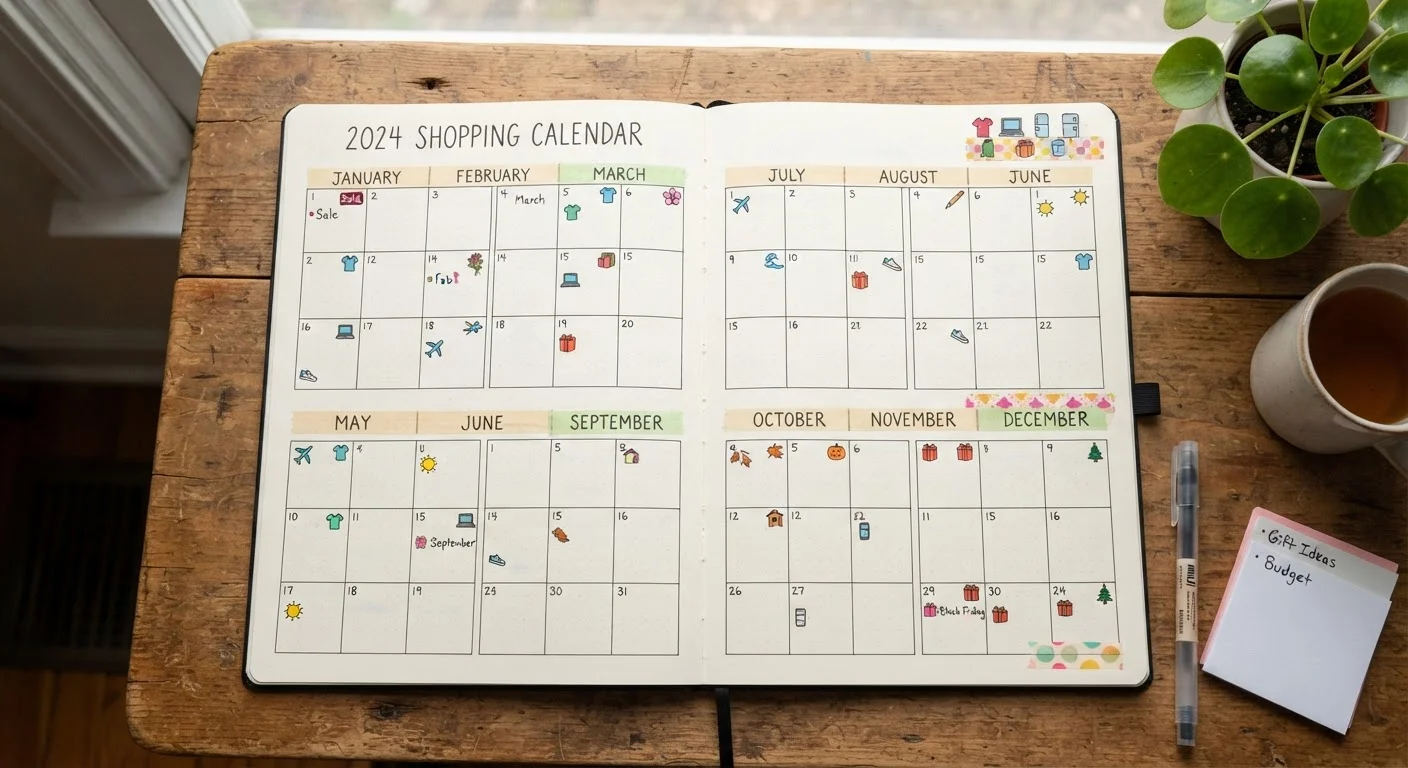
Many product categories — appliances, electronics, mattresses, outdoor furniture — follow predictable annual pricing cycles. If you know a purchase is coming, timing it to a historically low-price window can compound your savings without any extra effort. See our seasonal shopping calendar for a category-by-category reference.
How to Build the Habit Step by Step
The steps below take roughly 15–30 minutes to set up for your first tracked item. Subsequent items take only a few minutes each. The weekly maintenance habit is the piece that compounds over time.
Build your purchase list before you shop
Write down every major item you expect to need in the next six to twelve months — appliances, electronics, furniture, tires, anything with a price tag above what you'd spend without thinking. Assign each item a rough budget ceiling based on what you can realistically afford, not what you hope to pay.
This list is your anchor. It separates intentional purchases from retailer-manufactured urgency. If an item isn't on the list, it doesn't get tracked yet.
Look up price history for each item
Before you track where a price is going, you need to understand where it's been. Install a free browser extension that overlays price history graphs on major retailer product pages. Search for your item and review at least 90 days of price data — ideally 12 months if available.
Note the item's typical price range: the floor (lowest recorded), the ceiling (highest recorded), and the most common everyday price. Record these numbers in your spreadsheet alongside the item name.
Set a realistic target price
Using the historical floor and your budget ceiling, set a target price — the specific dollar amount at which you'd be comfortable buying. This number should be grounded in the item's actual price history, not wishful thinking. A target that has never been reached historically isn't useful.
Write your target price next to each item in your tracker. This keeps your decision criteria clear and prevents you from rationalizing a purchase just because it feels cheaper than the day you first looked.
Activate price alerts
Rather than checking prices manually every few days — which is both time-consuming and tempting — set up automated alerts through a retailer's wish-list feature or a dedicated price-alert service. Enter your target price as the trigger threshold.
Once alerts are active, you don't need to visit the retailer's site until you're notified. This removes a significant source of browsing-induced impulse purchases. Being aware of how retailers use urgency and discounting psychology can make this step even more valuable — see our article on why sales make you spend more.
Schedule a weekly five-minute review
Once a week, open your tracker and do a quick scan: Are any alerts triggered? Has the price history shifted significantly? Are any items approaching your purchase deadline? Update your notes and adjust target prices if new data warrants it.
This weekly check-in is the core habit. Five minutes is enough — the goal is consistency, not intensity. Pair it with another routine (Sunday evening budgeting, a weekly grocery planning session) so it doesn't require its own activation energy.
Pull the trigger deliberately when your criteria are met
When an alert fires and the price matches your target, don't hesitate indefinitely — but do do a 30-second confirmation: Is this still within budget? Is the seller reputable? Does the timing still make sense for your household? If yes, complete the purchase.
Log the final purchase price, the date, and how it compared to your target in your tracker. Over time, this record will sharpen your intuition for setting realistic targets on future purchases.
Don't Let Tracking Become a Reason to Delay Necessary Purchases
Price tracking works well for discretionary or planned purchases. If an item is genuinely needed — a broken appliance, a safety-related car repair — waiting indefinitely for a lower price can cost more in the long run. Set a reasonable deadline alongside your target price.
This article provides general financial education and is not personalized financial advice. Consult a qualified financial professional for guidance specific to your situation.