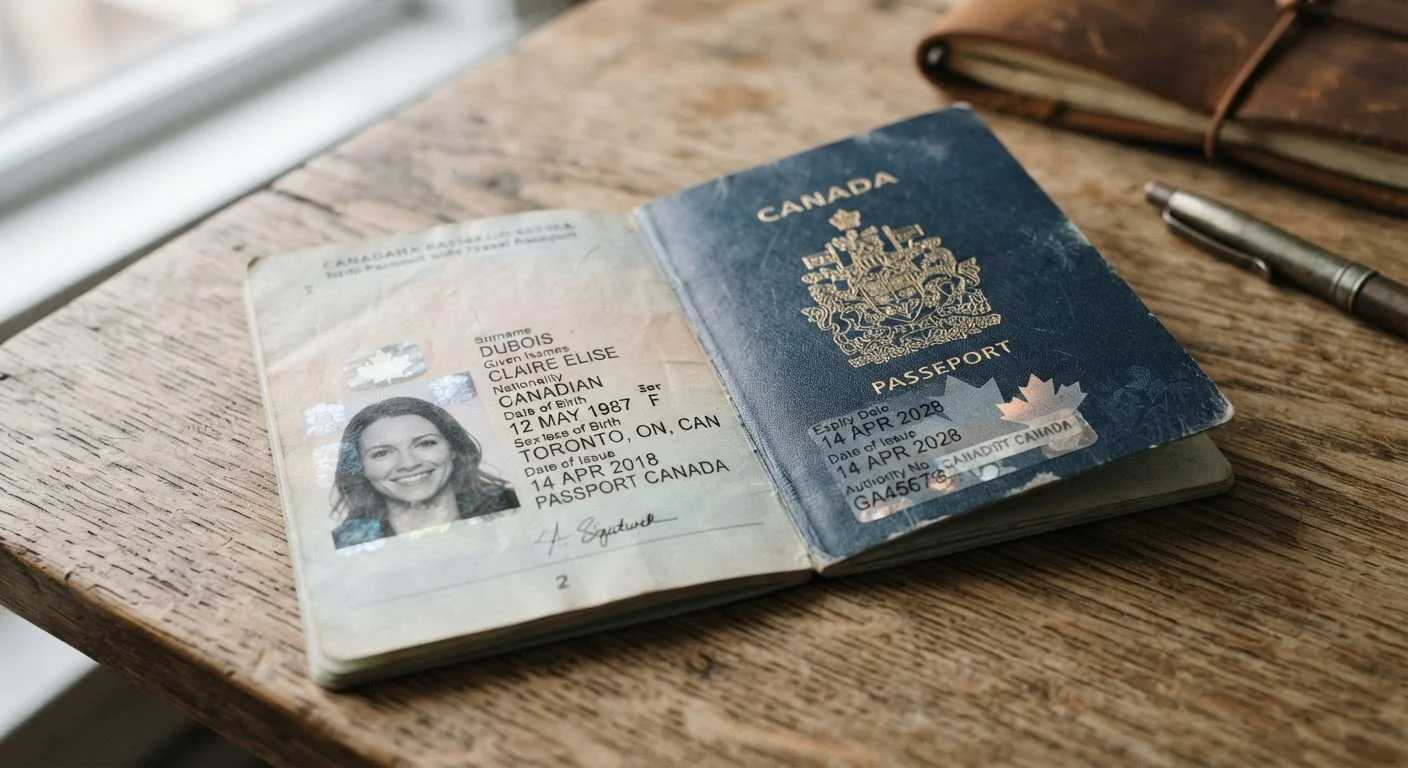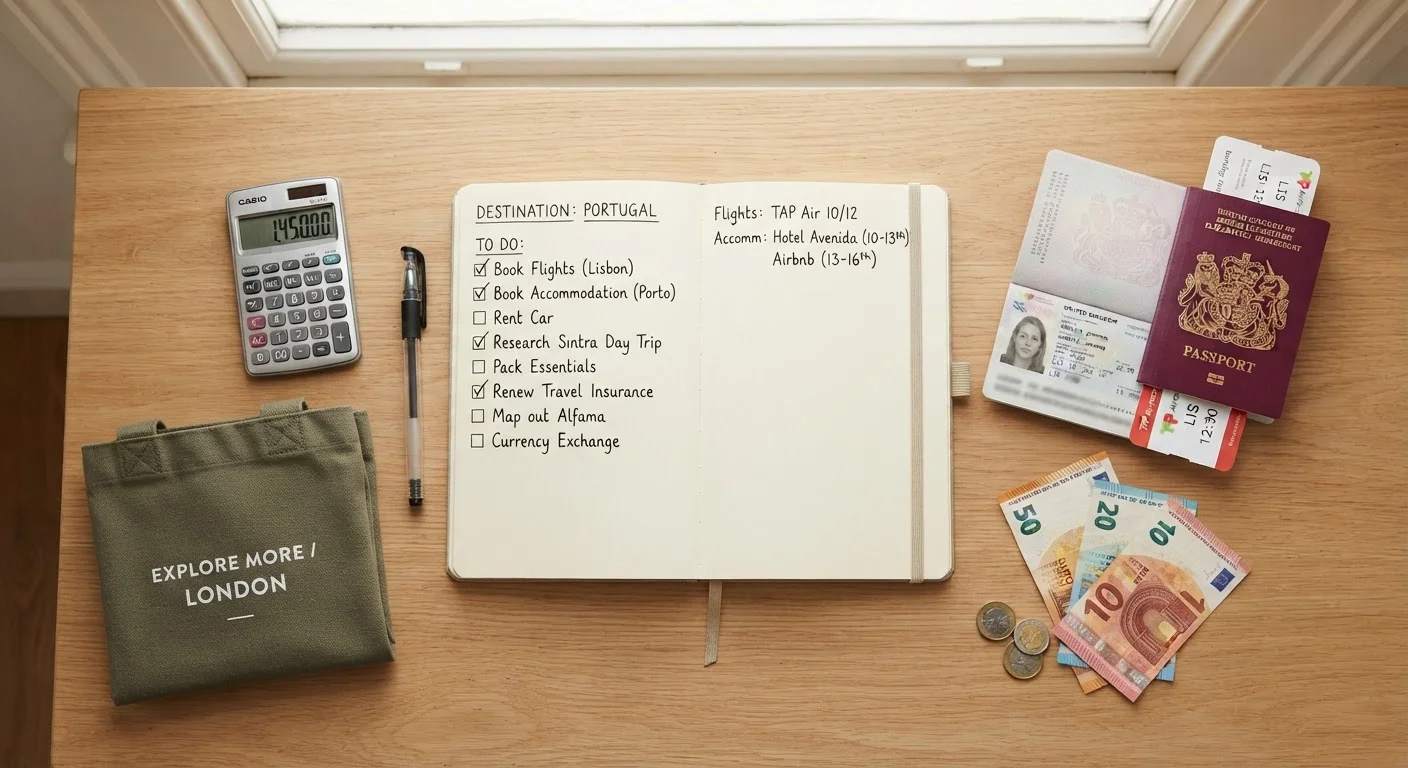
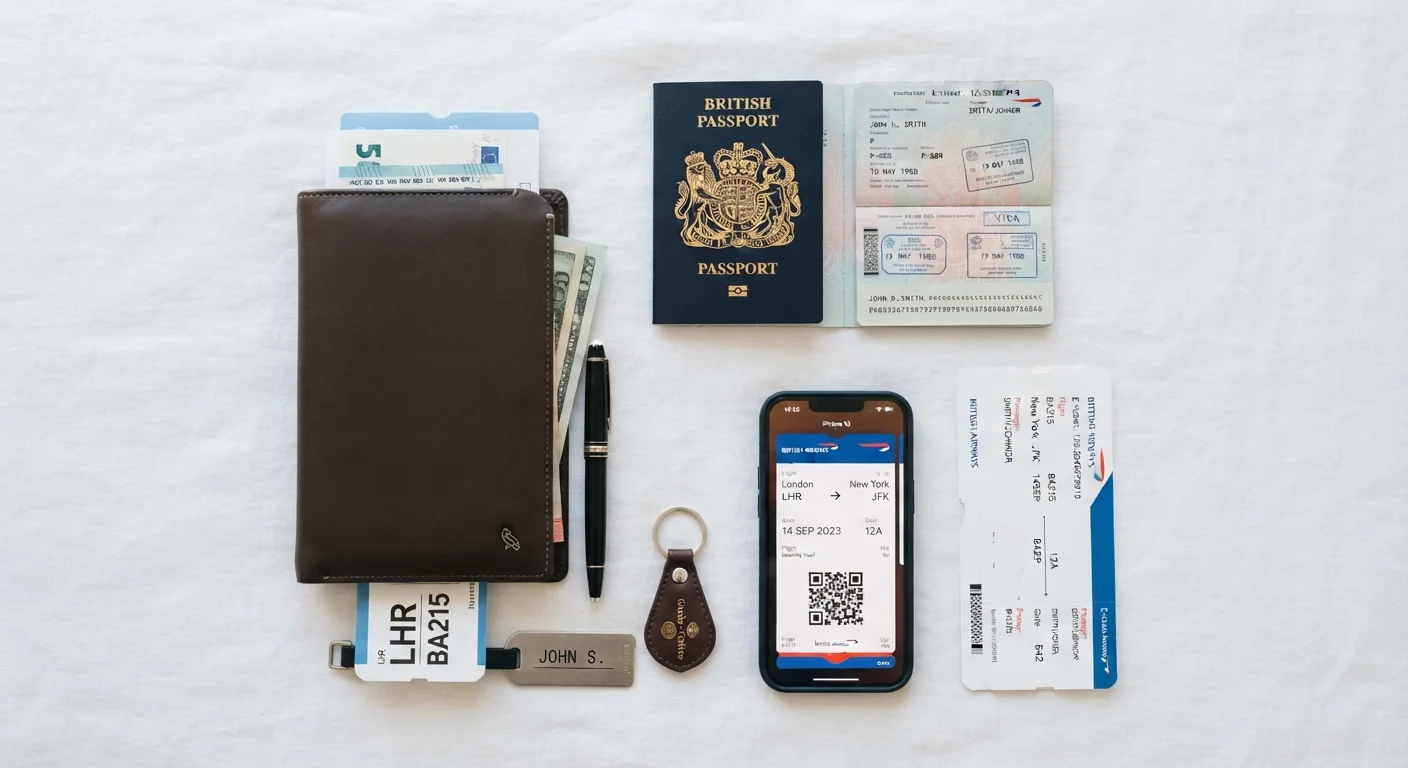
Why a Document System Pays Off Before You Even Pack
Most travel stress at the airport isn't caused by traffic or long lines — it's caused by not knowing exactly where something is. A boarding pass buried in an inbox, a hotel address saved only in a closed browser tab, a visa approval that seemed fine to locate at home but suddenly can't be found on a phone with 3% battery — these are avoidable problems.
Building a repeatable document organisation system takes less than an hour before any trip and pays back that time many times over. It's also a core part of confident trip planning. As outlined in our guide to the anatomy of a well-planned trip, the departure phase is where preparation either holds together or falls apart.
What you will need
Before working through the steps below, gather your tools.
Zippered travel document wallet
Keeps passports, printed confirmations, and cards together in one accessible, water-resistant holder.
Cloud storage or secure email account
Stores digital copies of all key documents so you can retrieve them from any device if originals are lost.
Offline-capable PDF reader app
Allows access to boarding passes and confirmations without requiring an internet connection.
Printer or print-on-demand service
Produces physical backup copies of visas, insurance policies, and hotel details.
Building Your System: Step by Step
Follow these steps starting at least 48 hours before departure — ideally as soon as you finish booking. The earlier you build the system, the more time you have to spot missing documents, expired IDs, or entry requirement gaps.
Always Verify Entry Requirements Officially
Visa rules, entry waivers, and passport validity requirements change without notice. Never rely solely on a third-party source or this article for entry eligibility. Check the official website of the destination country's embassy or consulate and the U.S. Department of State travel pages before every trip. See also why passport expiry timing matters — many destinations require six months of validity beyond your return date.
Collect every document into one place
Start by pulling together every document related to your trip — flight confirmations, hotel bookings, car rental agreements, tour receipts, travel insurance policy, visa approval letters, and any entry requirement printouts. Don't filter yet; just gather. Missing a single document at this stage is far less costly than discovering the gap at the airport.
Sort documents by travel phase
Group your documents into three categories: Pre-departure (passport, visa, travel insurance, TSA PreCheck or Global Entry details if applicable), In-transit (boarding passes, baggage receipts, lounge passes), and At destination (hotel confirmations, ground transport bookings, tour tickets, emergency contacts). This phased approach means you're only reaching for what you need at each stage of the journey — not digging through everything at once.
Create digital backups of every document
Scan or photograph each physical document and save copies to a cloud-accessible location — an email draft sent to yourself, a secure cloud drive folder, or an encrypted notes app all work. Save PDFs of every emailed confirmation. Make sure the files are accessible offline on your phone by downloading them before you leave home, not at the gate.
Print physical backup copies of critical items
Print at minimum: your passport photo page, visa approval (if applicable), travel insurance summary with the emergency contact number, flight itinerary, and hotel confirmations for the first and last nights. Keep these separate from your originals — one set in your carry-on, one set in checked luggage. This redundancy matters most when your phone is dead or confiscated.
Share an itinerary copy with a trusted contact
Email a complete copy of your travel itinerary — including flight numbers, hotel addresses, and your travel insurance emergency line — to someone you trust at home. This serves two purposes: it gives you an external backup you can request remotely if everything is lost, and it means someone knows where you're supposed to be if something goes wrong.
Do a final document check 24 hours before departure
The night before you fly, run through your physical wallet and digital folder against your packing checklist. Confirm boarding passes are downloaded for offline access. Check that your passport is in the wallet — not still in the drawer where you left it after the last trip. Cross-reference visa requirements one final time against official sources. This 10-minute review prevents the majority of document-related airport emergencies.
Don't Rely Solely on Digital Copies
Phone batteries die, apps crash, and airport Wi-Fi is unreliable. Always carry at least one printed copy of critical documents — particularly visas, hotel confirmations, and travel insurance details. Border officials in some countries will not accept a phone screen in place of a physical document.
Use a Consistent Naming Convention for Files
When saving digital documents, name files clearly and consistently — for example: LASTNAME_Passport, TRIP-PARIS_HotelConfirmation, TRIP-PARIS_FlightOutbound. This makes searching fast even when you're stressed and short on time at the gate.
For a broader pre-departure review that also addresses fees, currency, and common planning gaps, see our pre-trip cost checklist. And if any of the document terminology — fare classes, visa categories, ETIAS waivers — is unfamiliar, the smart traveller's key terms reference provides plain-language definitions.