Why Bathtub Caulk Fails So Often
Bathtub caulking sits at the intersection of two hostile forces: constant moisture and the natural movement of a heavy tub filling and draining with water. That flex, repeated hundreds of times a year, stresses any sealant that isn't properly bonded. Add mold-friendly humidity and soap residue, and it becomes clear why a hastily applied bead rarely lasts more than a season.
The good news is that the fixes are almost always about process - not expensive products or professional skills. Understanding the mistakes behind early failure puts you firmly in control of a longer-lasting result.
Not fully removing the old caulk before applying a new layer.
Why it happens: Scraping out old caulk is tedious, and a fresh layer on top looks presentable - at least temporarily. Many homeowners assume the new product will bond over the old one.
Applying caulk to a damp or incompletely dry surface.
Why it happens: Bathrooms dry slowly, and it's tempting to move forward after a quick wipe-down. Invisible surface moisture is easy to overlook.
Using general-purpose or paintable caulk instead of a mold-resistant, bathroom-specific formula.
Why it happens: Caulk tubes look similar on the shelf, and general-purpose versions are often positioned near bathroom products. Price differences can make the cheaper option seem like a reasonable substitute.
Skipping surface cleaning and degreasing before application.
Why it happens: The area may look clean, but soap scum, body oils, and cleaning product residue create an invisible barrier that prevents adhesion.
Applying too much or too little caulk in a single pass.
Why it happens: Homeowners either try to fill a large gap in one heavy bead or apply a thin cosmetic line that doesn't bridge the joint.
Not allowing the caulk to fully cure before using the tub.
Why it happens: The surface feels dry to the touch within an hour or two, which creates a false impression that the sealant is ready.
How to Set Yourself Up for a Long-Lasting Seal
Once you've avoided the common pitfalls, a few final habits reinforce your work.
Don't Caulk Over Mold or Damaged Grout
If you see black mold penetrating the wall surface or grout that is crumbling and hollow, caulk alone will not solve the problem. Mold behind the tile can continue to spread even under a fresh seal, and structurally compromised grout may indicate water damage to the substrate underneath. In these cases, consult a licensed tile contractor before proceeding - the fix may be more involved than re-caulking.
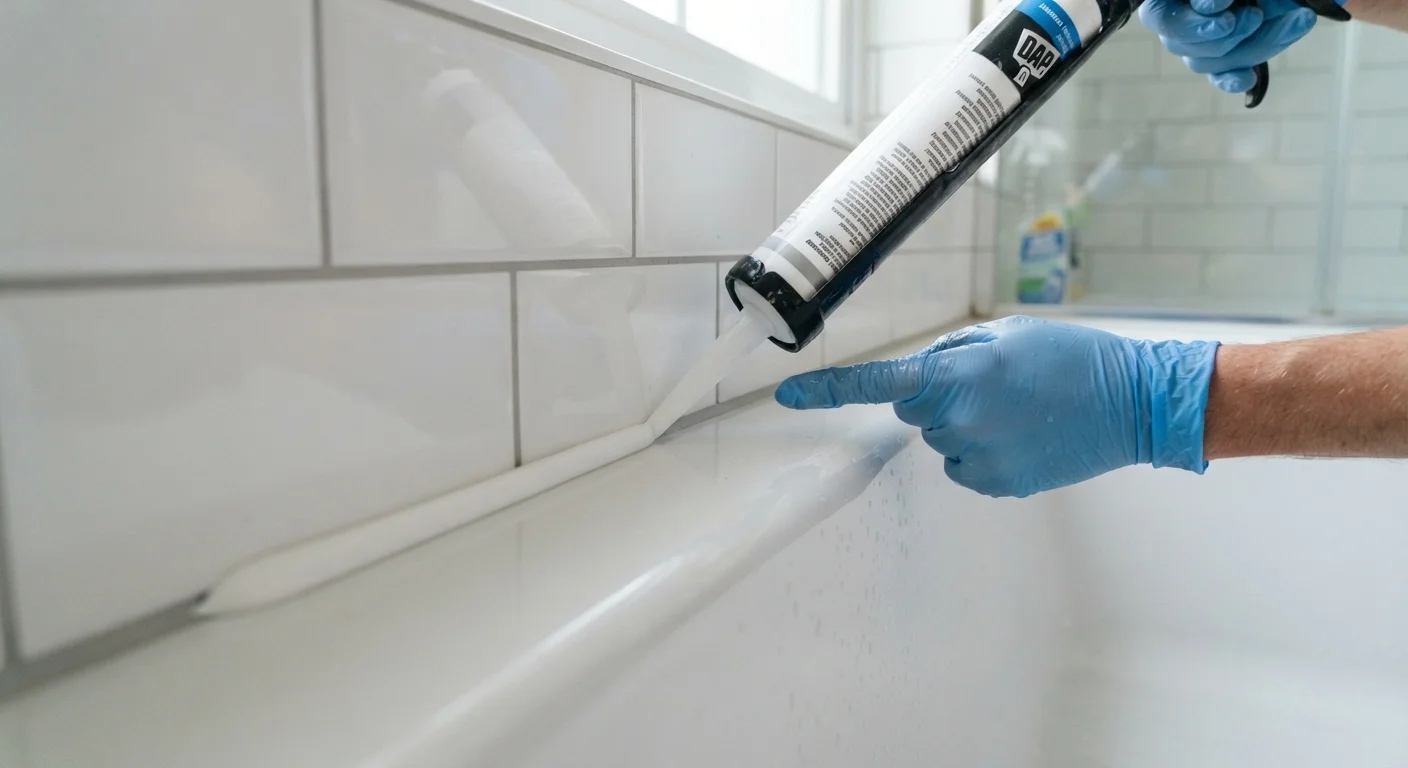
Fill the tub before you caulk. This is a tip most guides bury or omit entirely. A full tub pushes the fixture slightly downward and outward, mimicking the loaded position. Apply your caulk with the tub full, then let it cure completely before draining. When the tub empties and rises back, the caulk flexes into the joint rather than being pulled apart.
Smooth the bead with a dampened finger or caulk tool in one continuous pass. Lifting and restarting leaves air pockets and uneven coverage. Tool the bead immediately after application - before it begins to skin over.
Finally, resist the temptation to use the tub quickly. Even fast-cure silicones benefit from a full 24 hours before water exposure; some manufacturer labels specify up to 48 hours in high-humidity conditions. Rushing this step undoes every good decision you made before it.
With careful prep, the right material, and a little patience, a properly caulked tub can remain watertight for five years or more - and redoing the job becomes a rare event rather than an annual frustration.